Find the exact part for your chainsaw, trimmer or generator.
OEM-compatible carburetors and small-engine parts for Stihl, Husqvarna, Honda, Briggs & Stratton, Echo and more — at a fraction of the cost of a new machine.
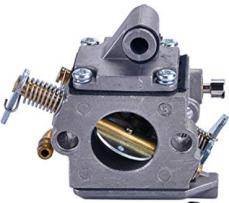
Shop by machine
Only showing machines where we have a verified, in-stock part — not a category estimate.
Top 20 best-selling machines in the US
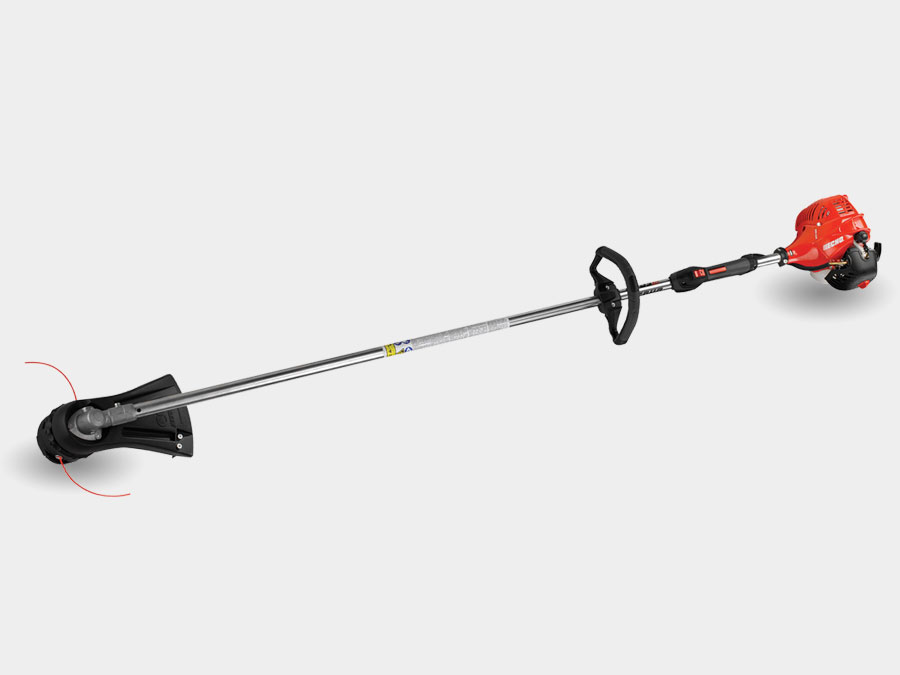
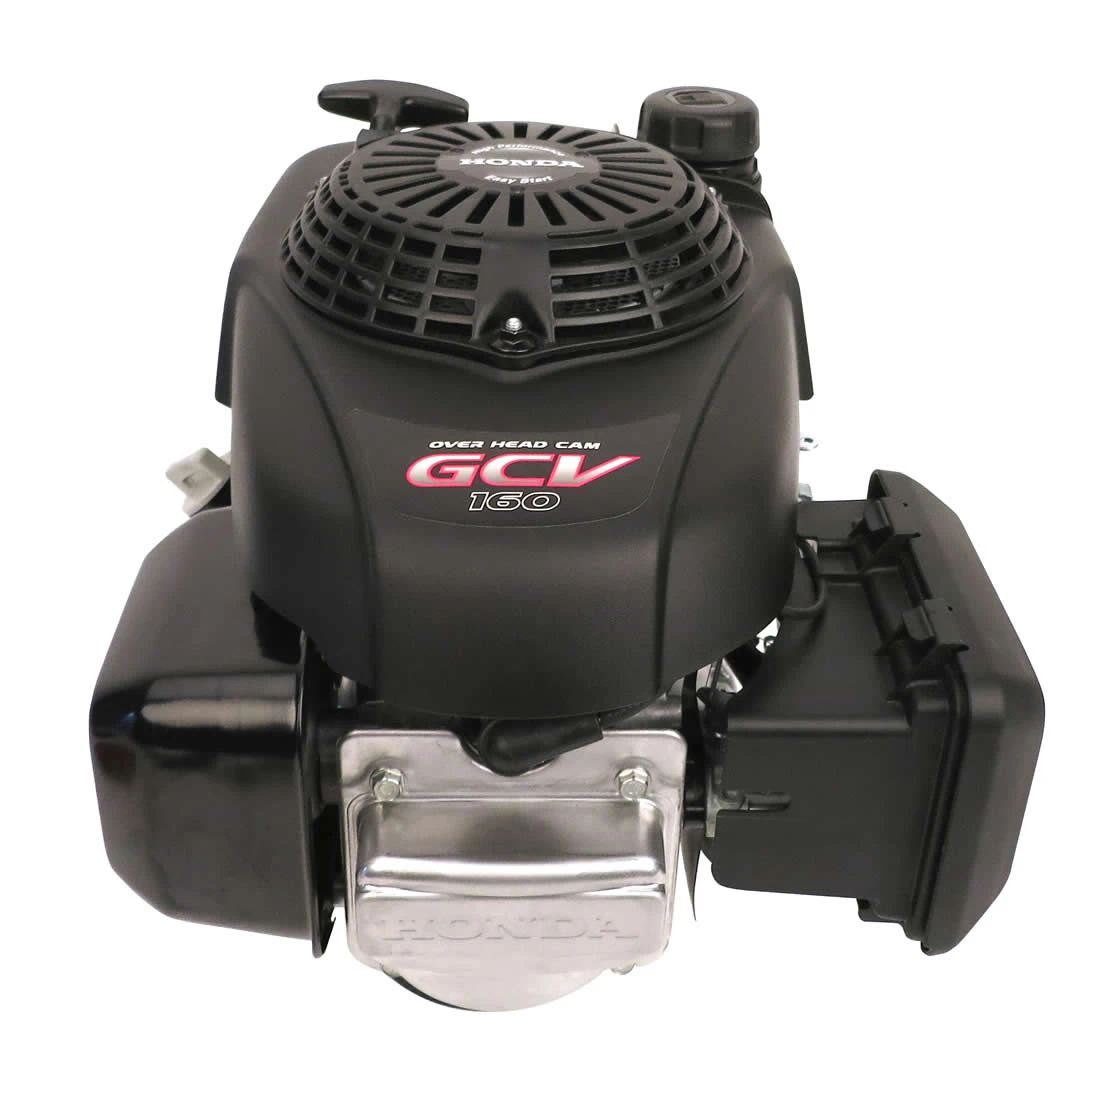
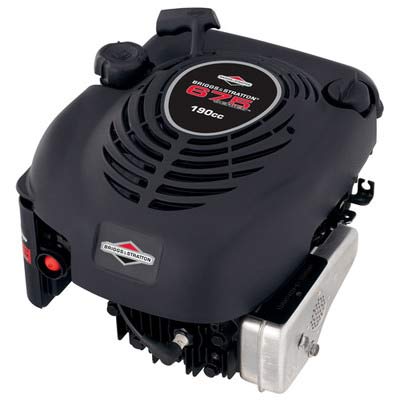
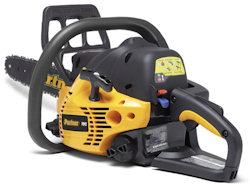
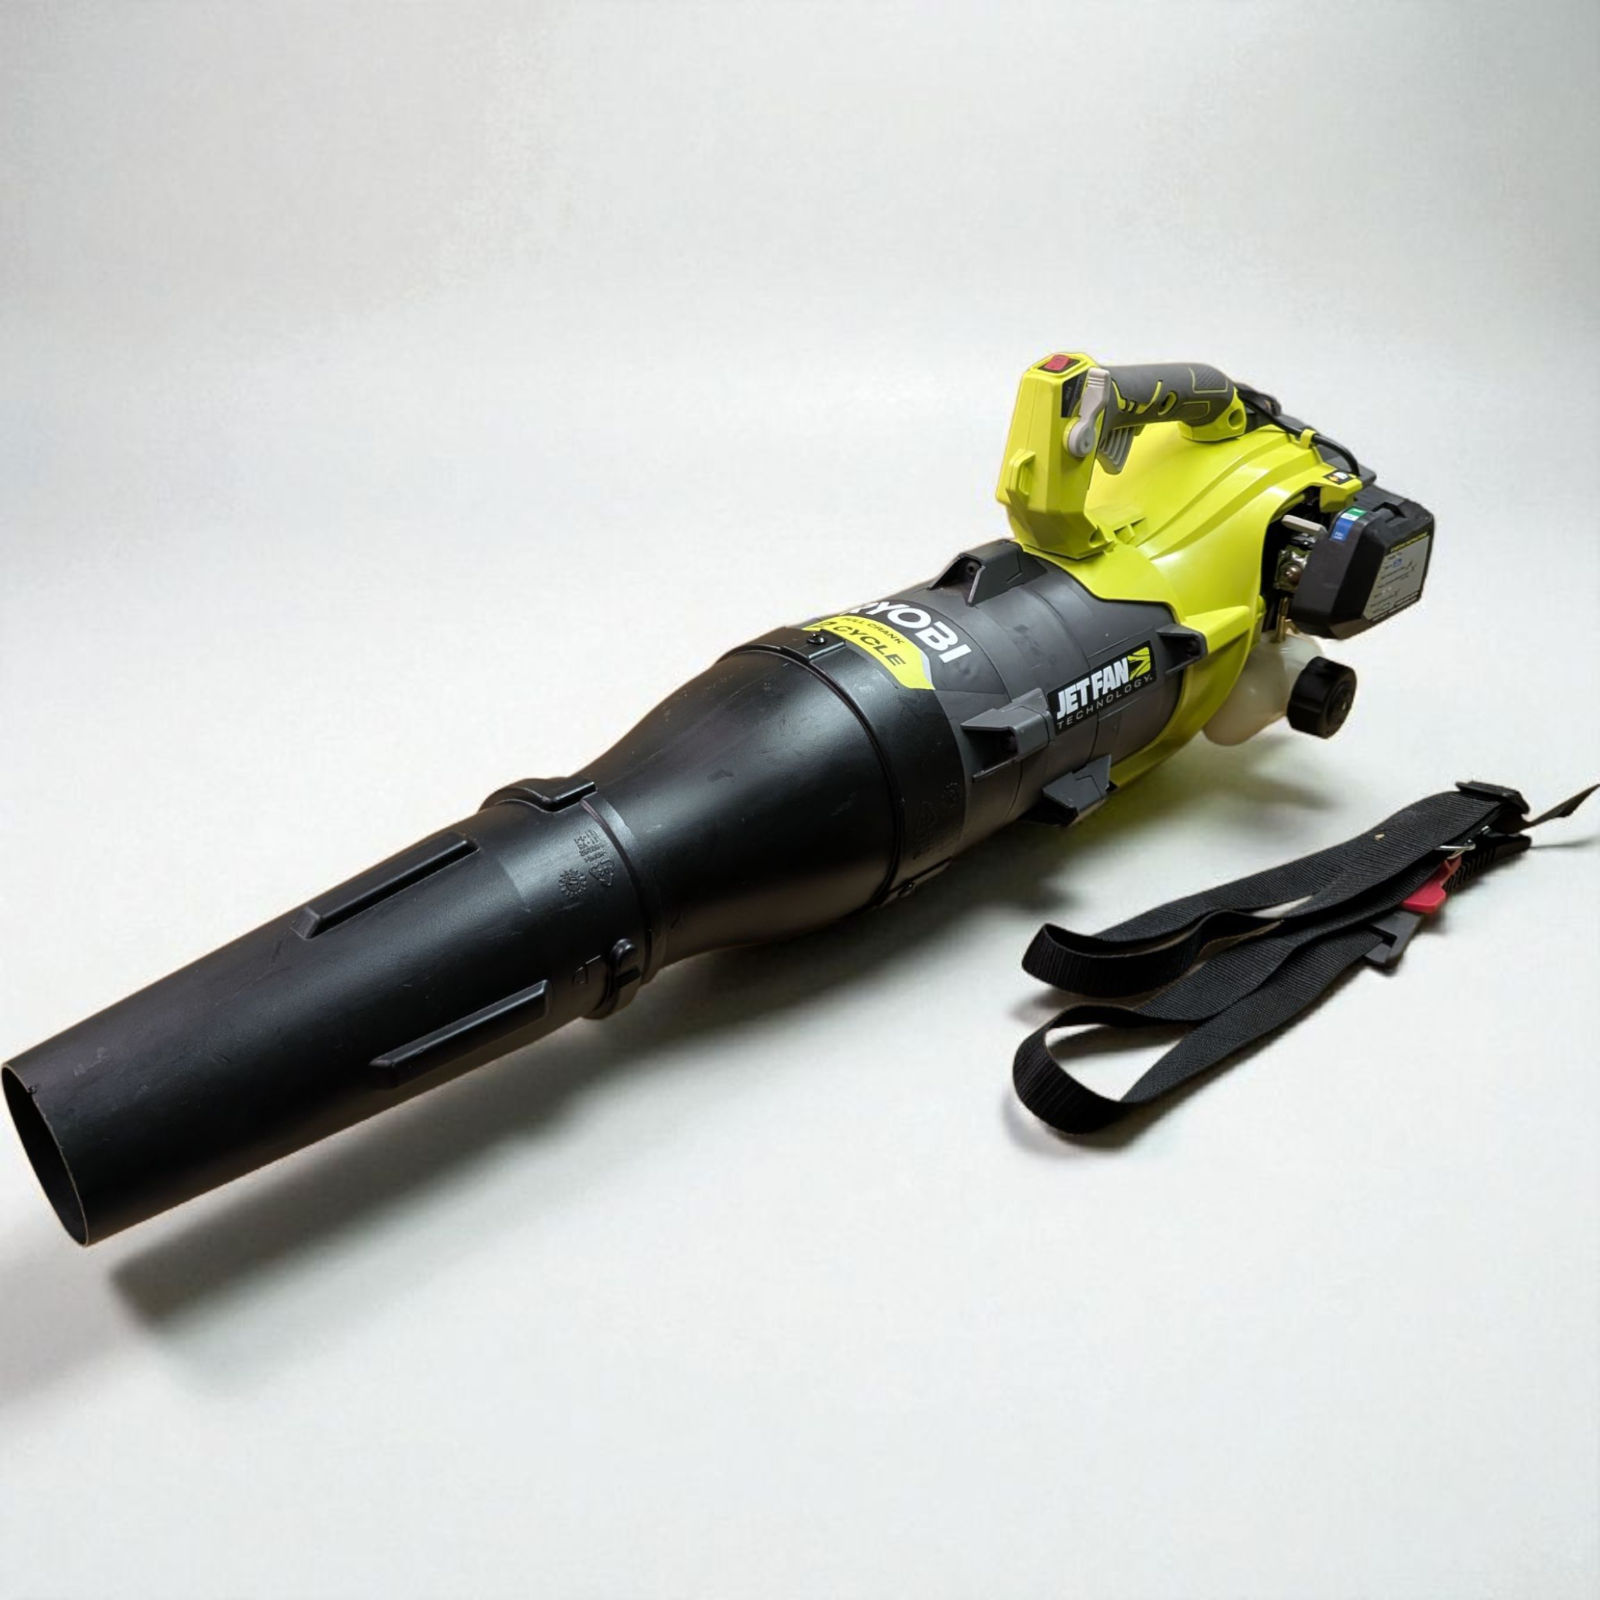
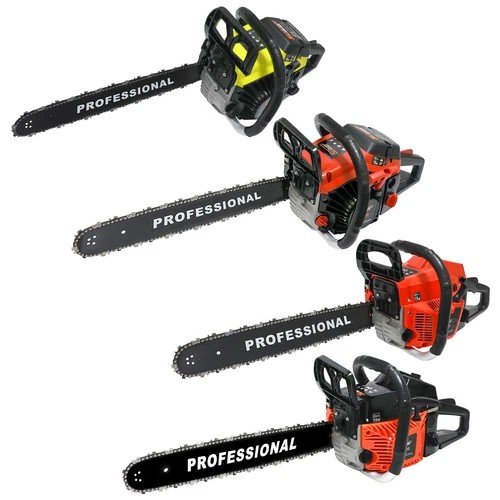
2026 market research across chainsaws, trimmers, blowers and generator/mower/pressure-washer engines — the models most US owners are trying to keep running. Every photo shows the actual machine, not a spare part.








Your equipment, your right to fix it.
Federal and state right-to-repair rules now make it clear: you don't need a dealer to maintain your own small engine. We stock the parts and the guides so you can do it yourself — on the farm, in the backyard, or on the road.
Do it yourself
General reference guides for common small-engine repairs (chainsaws, trimmers, blowers, generators, mowers). Always check your specific model's manual before starting — these are general references, not model-specific manuals.
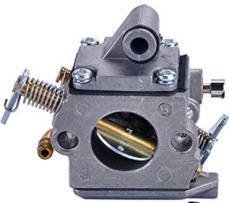
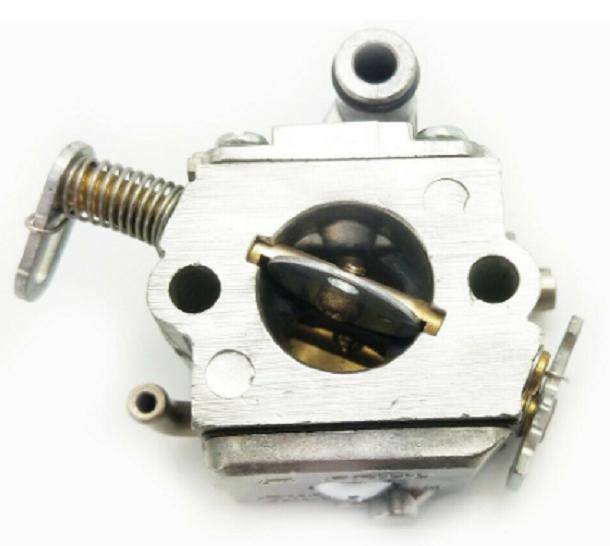
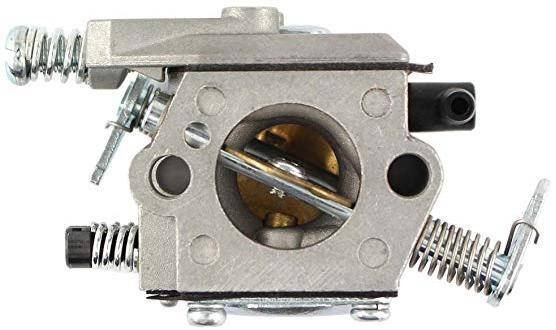
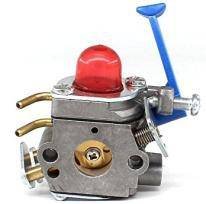
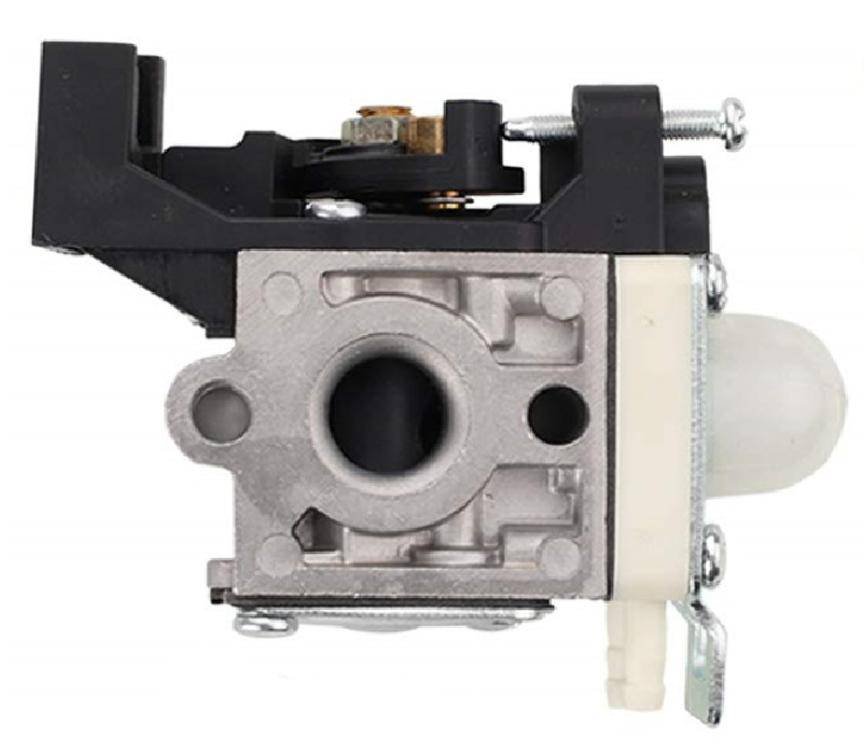
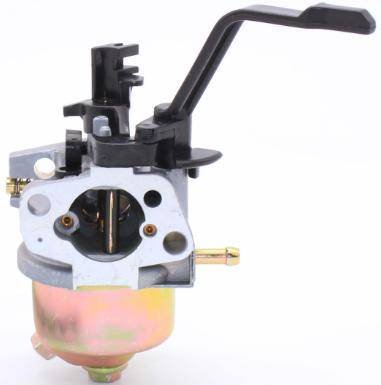
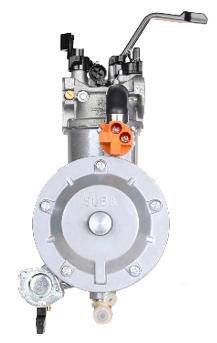
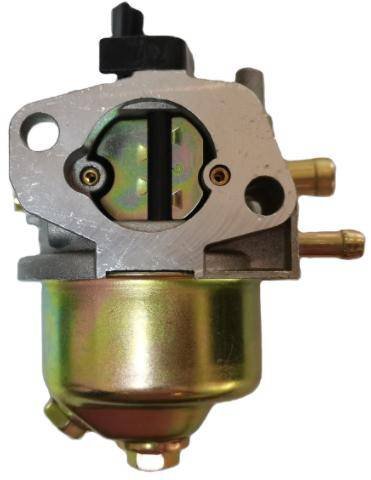
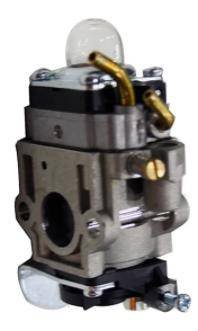
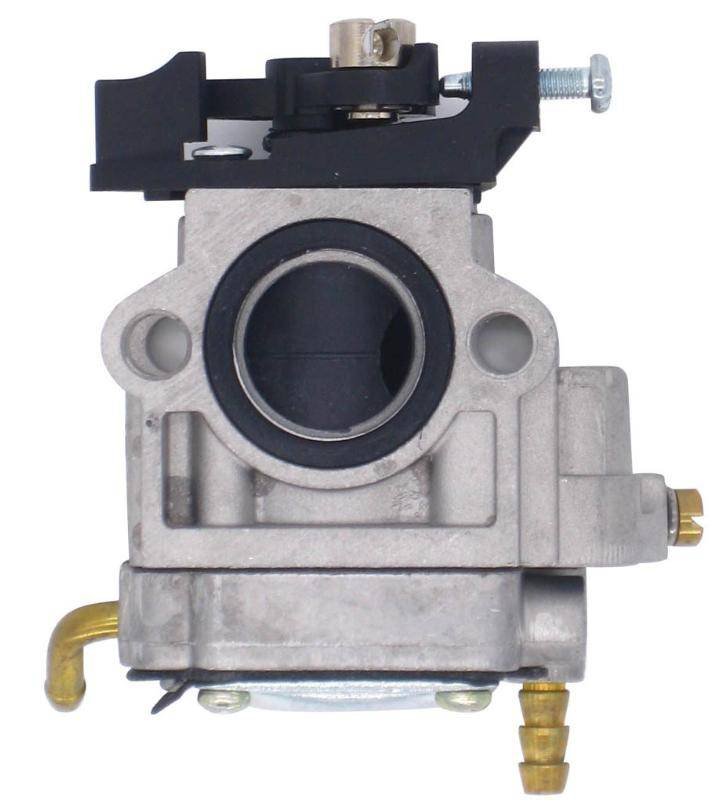
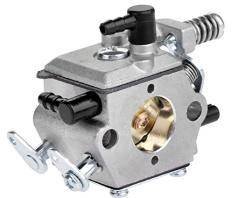
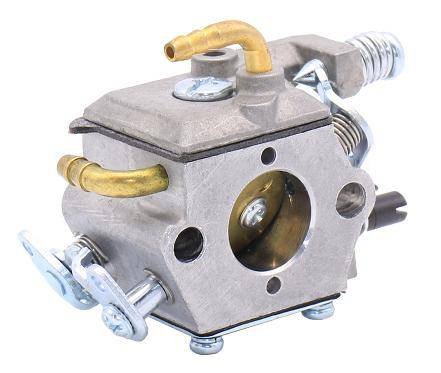
How to replace a carburetor
- Safety first. Let the engine cool, disconnect the spark plug wire, and work in a ventilated area away from open flame — you'll be handling gasoline.
- Drain or note the fuel level. Run the tank low or siphon it out before removing the carburetor to avoid spills.
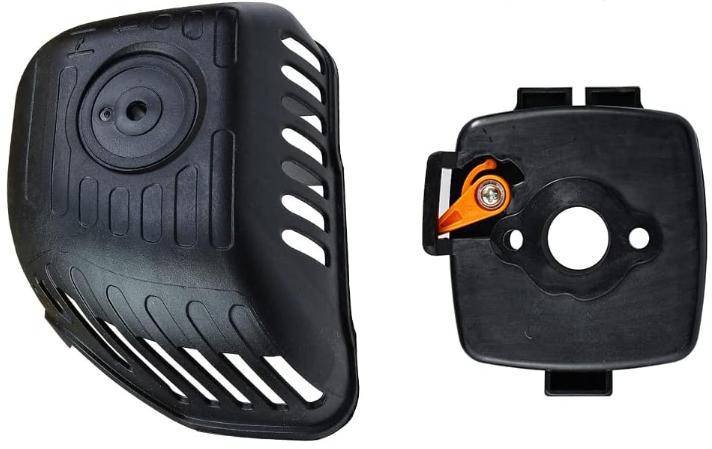
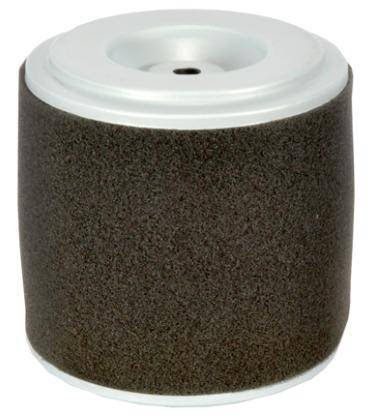
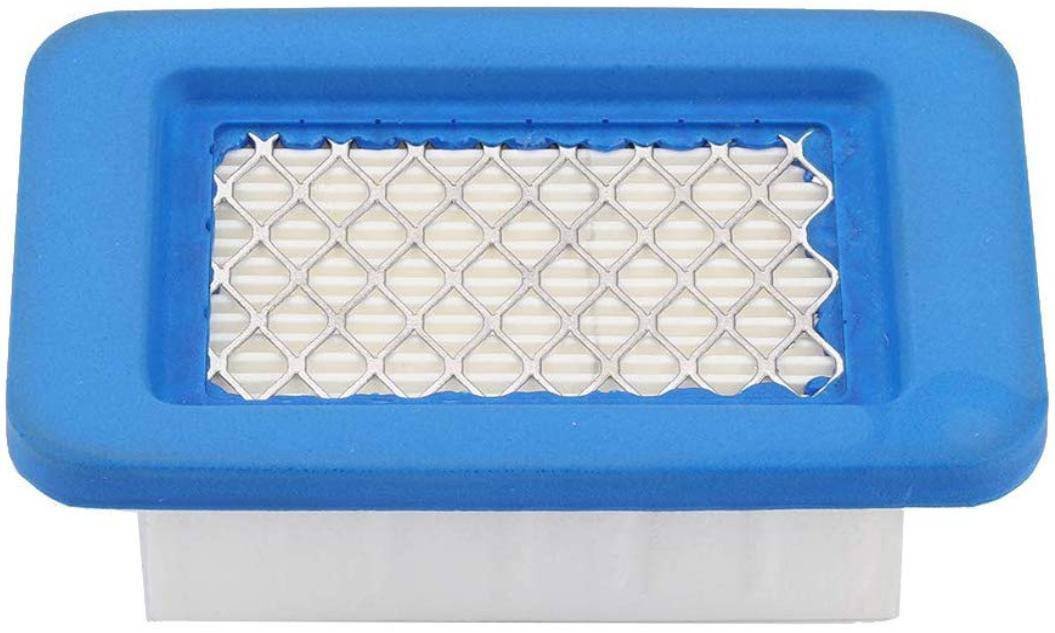
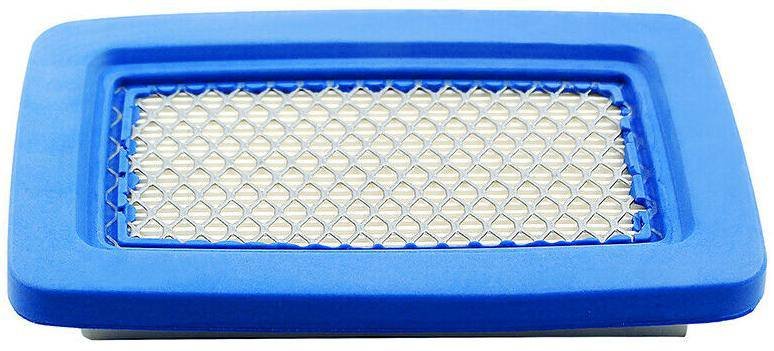
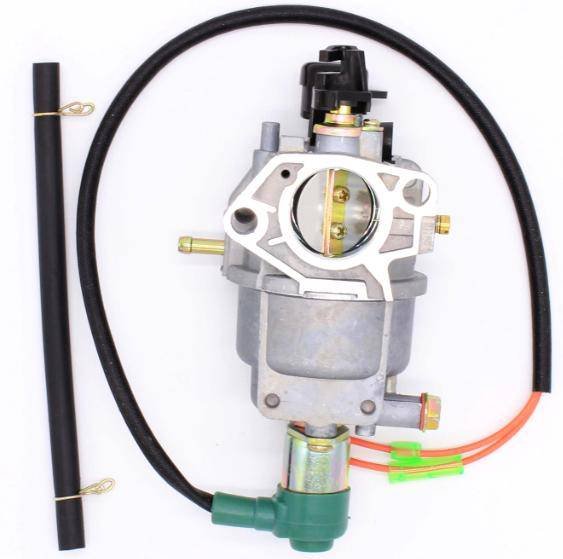
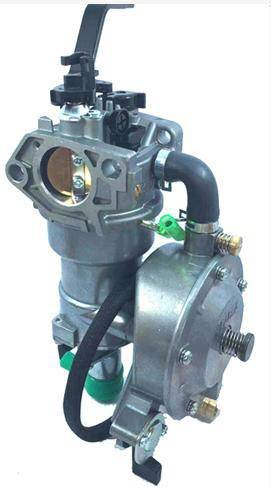
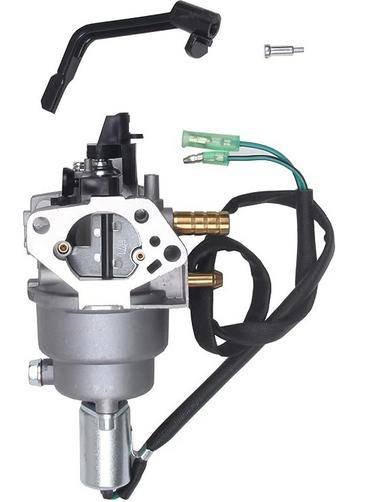
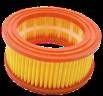
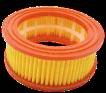
- Remove the air filter cover and air filter to access the carburetor, which sits directly behind it on most small engines.
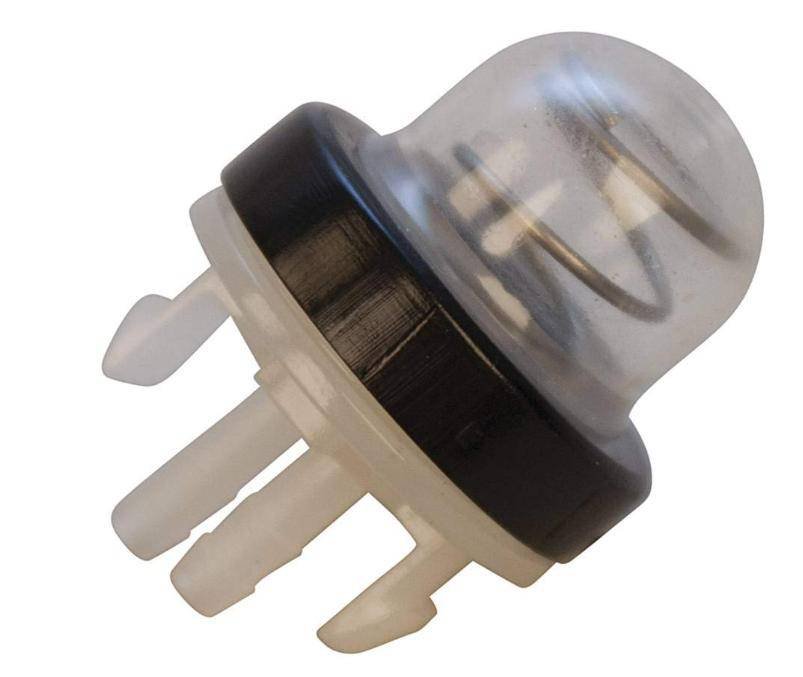
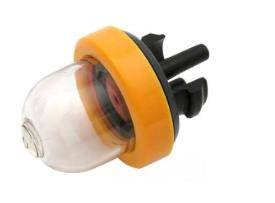
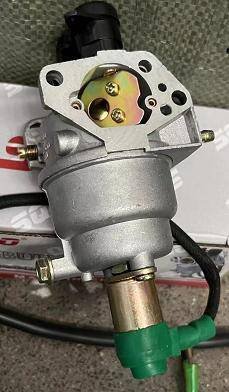
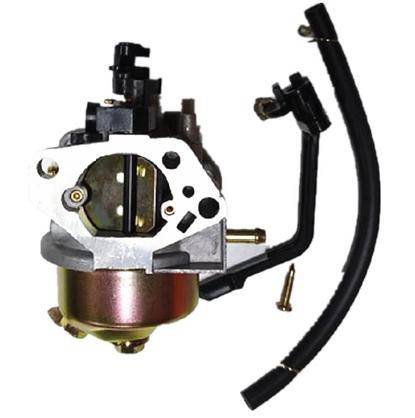
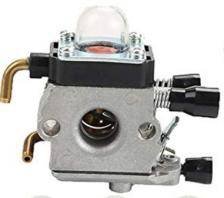
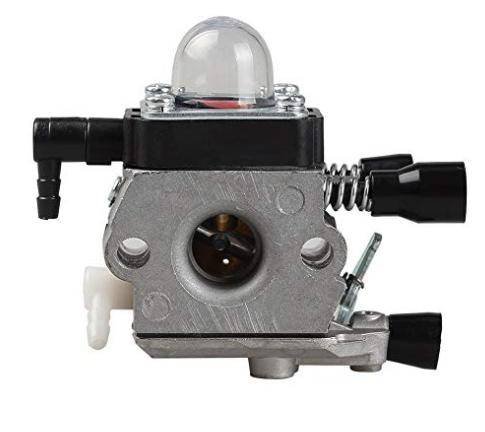
- Photograph the fuel lines and throttle linkage before disconnecting anything — carburetors have small primer bulbs, choke linkages and 1-2 fuel lines that are easy to mix up on reassembly.
- Disconnect the fuel lines and throttle/choke linkage from the carburetor.
- Remove the mounting bolts or screws and lift the carburetor off along with its gasket.
- Install the new carburetor with a fresh gasket, reversing the steps above.
- Reinstall the air filter, prime and start. Press the primer bulb 5-7 times if equipped, then start normally and let it idle before use.
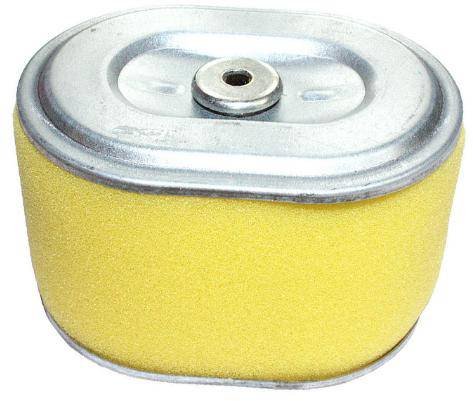
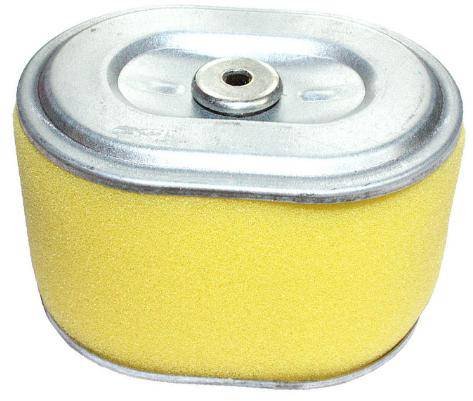
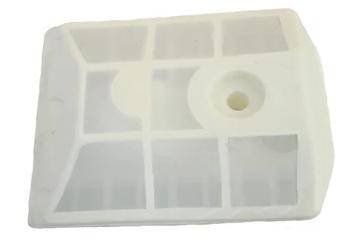
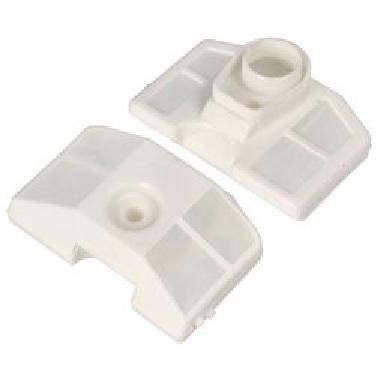
How to replace an air filter
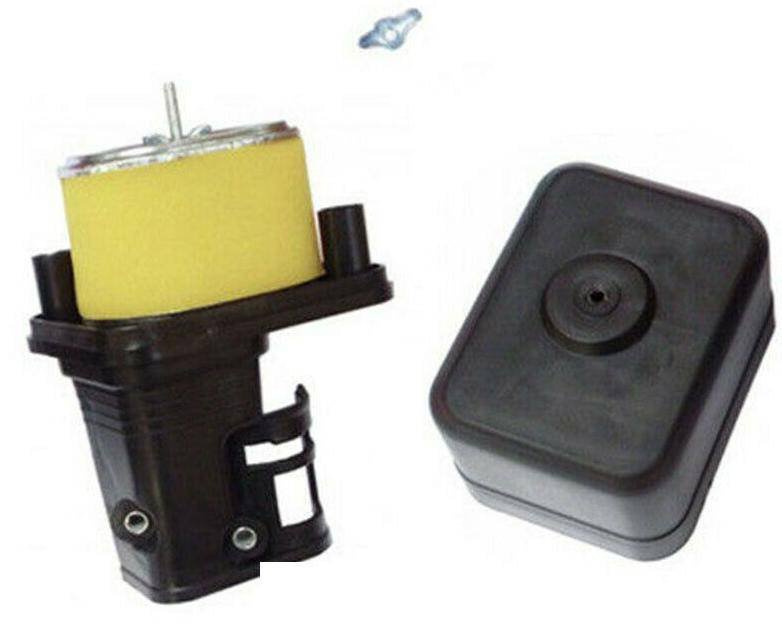
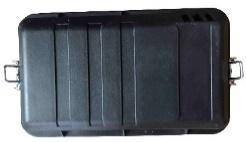
- Locate the air filter cover, usually a plastic housing on top of or beside the carburetor, held by a screw, wingnut, or clip.
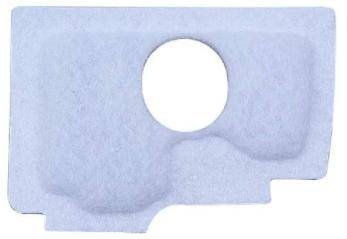
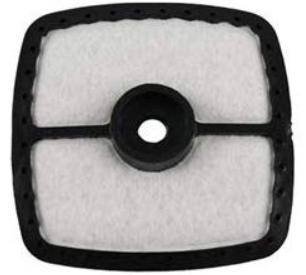
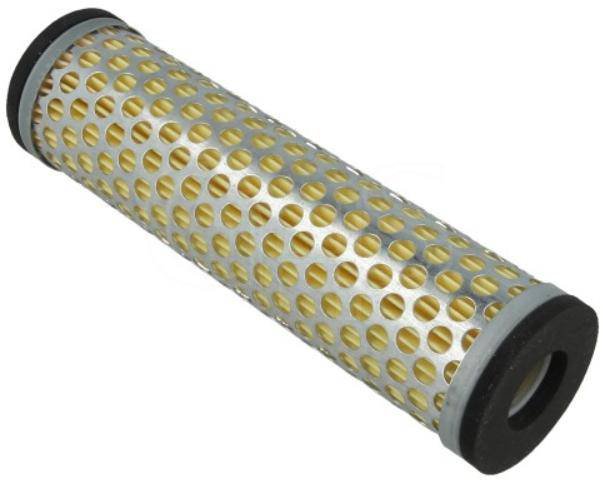
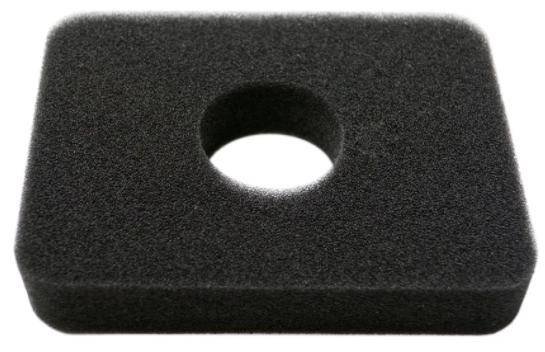
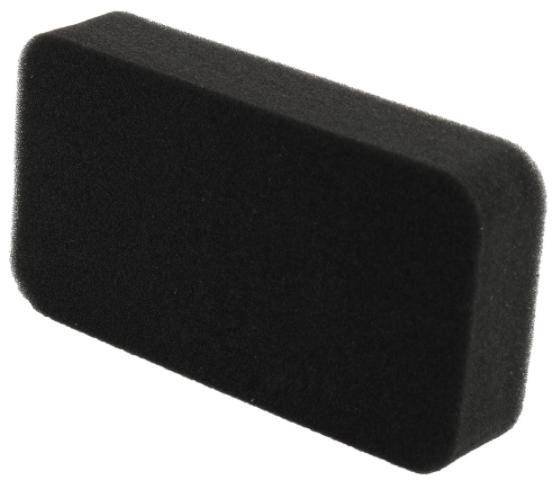
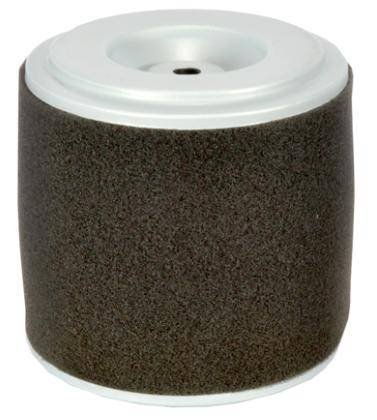
- Open the cover and lift out the old filter (foam, paper, or a foam-over-paper combo depending on the model).
- Inspect the housing for dirt or debris and wipe it out — don't let anything fall into the carburetor throat.
- If your filter is foam, some manufacturers call for a light coat of filter oil; check your manual, since not all models use oiled foam.
- Install the new filter seated fully in its housing, then close and secure the cover.
- Check the gap around the filter edge — an improperly seated filter lets unfiltered air in and shortens engine life.
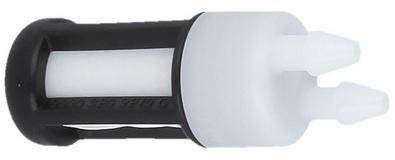
How to replace a fuel filter
- Safety first. Work away from open flame; have a rag ready to catch fuel drips.
- Drain or empty the fuel tank as much as possible before starting — this is a messier job than most and full tanks make it worse.
- Remove the fuel cap and, on most handheld tools, fish the fuel line and filter out of the tank opening with a small hook or bent wire.
- Pull the old filter off the fuel line — it's usually a push-fit onto the line, no clamp needed on most small engines.
- Push the new filter onto the fuel line firmly, matching the same orientation as the old one.
- Feed the line and filter back into the tank, refill with fresh fuel, and reinstall the cap.
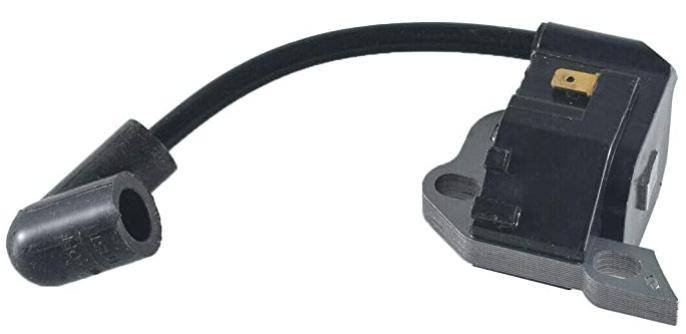
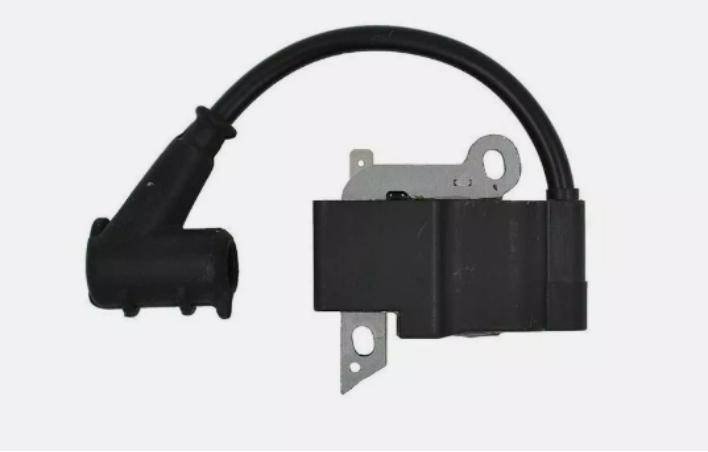
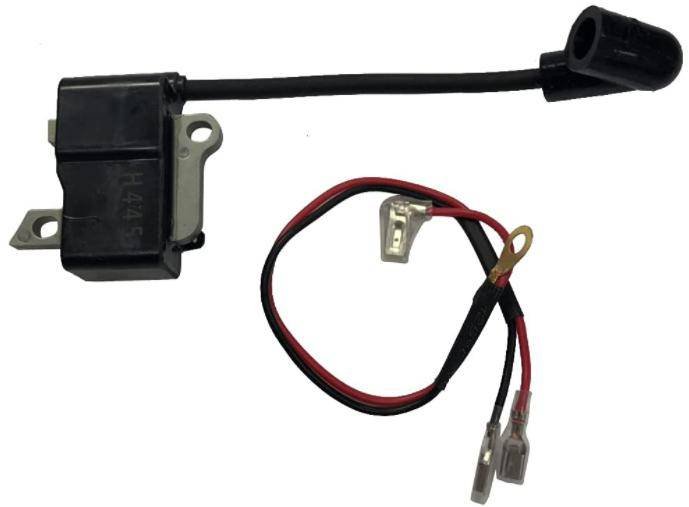
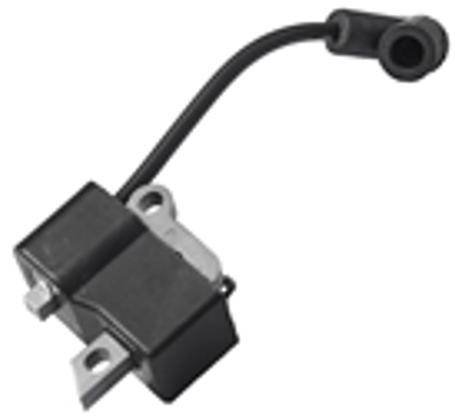
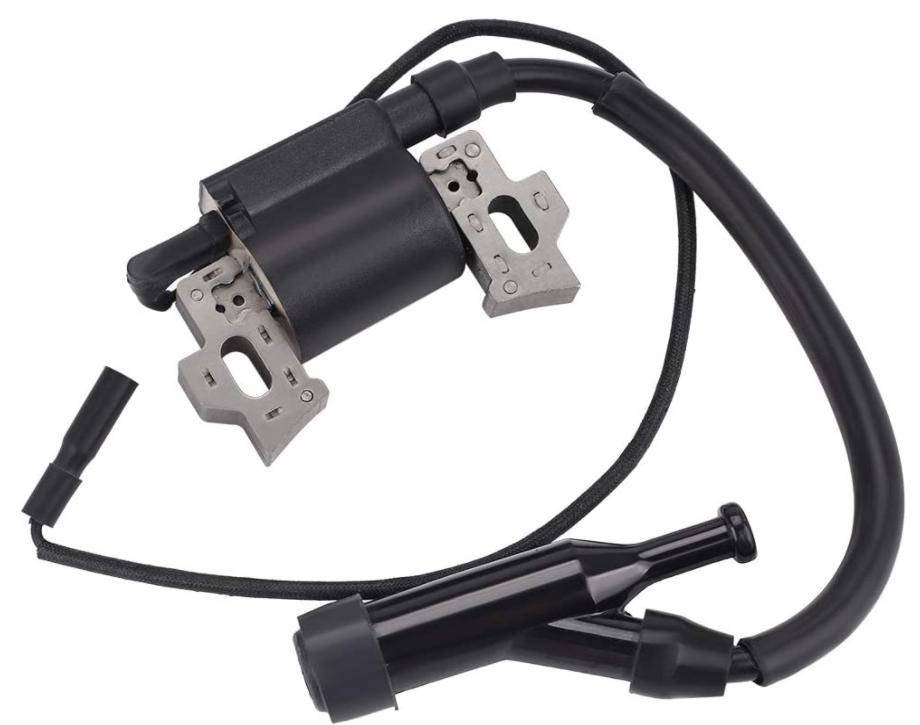
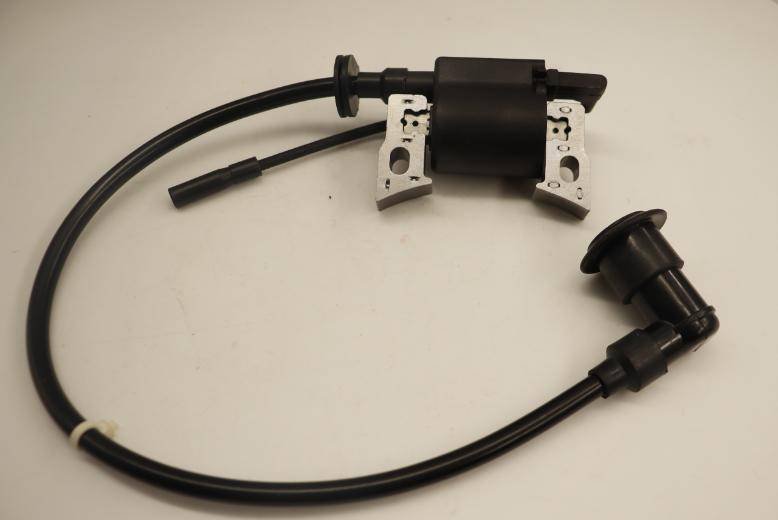
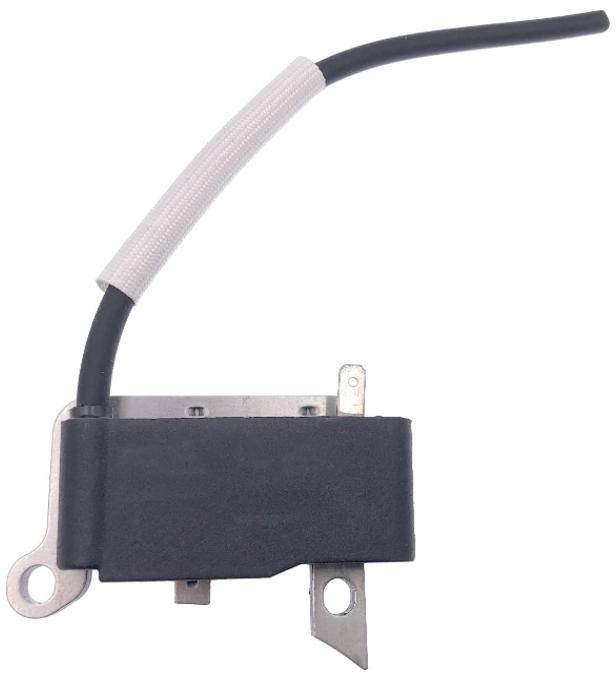
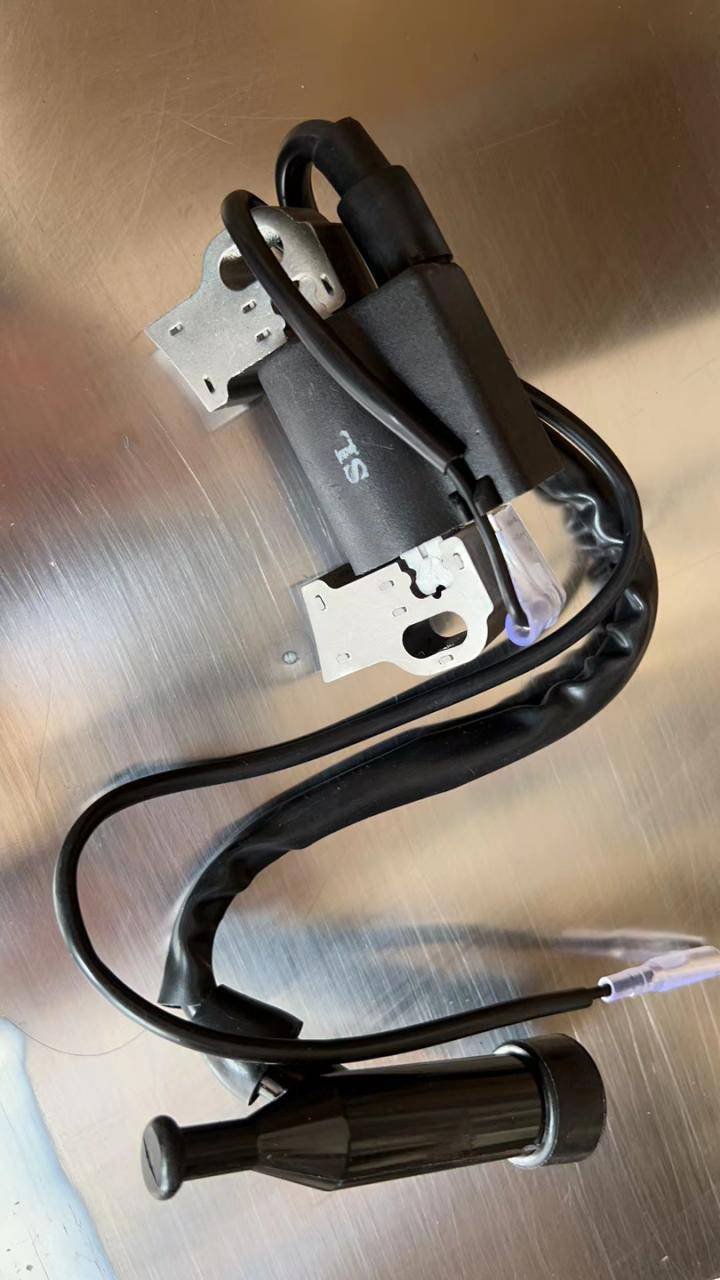
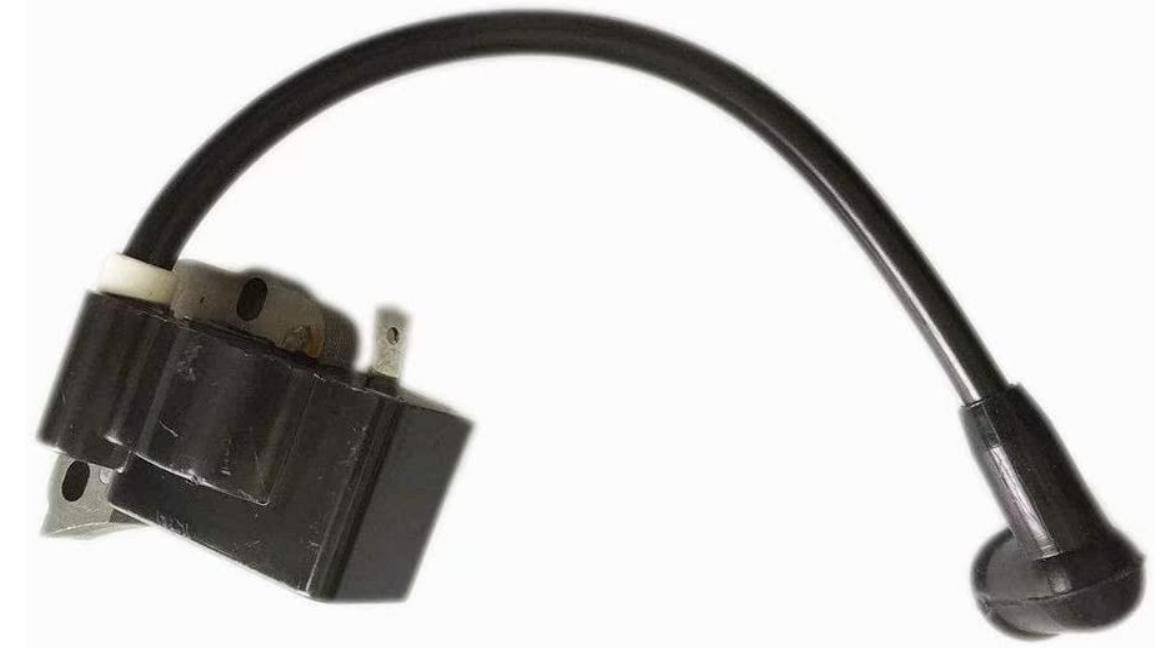
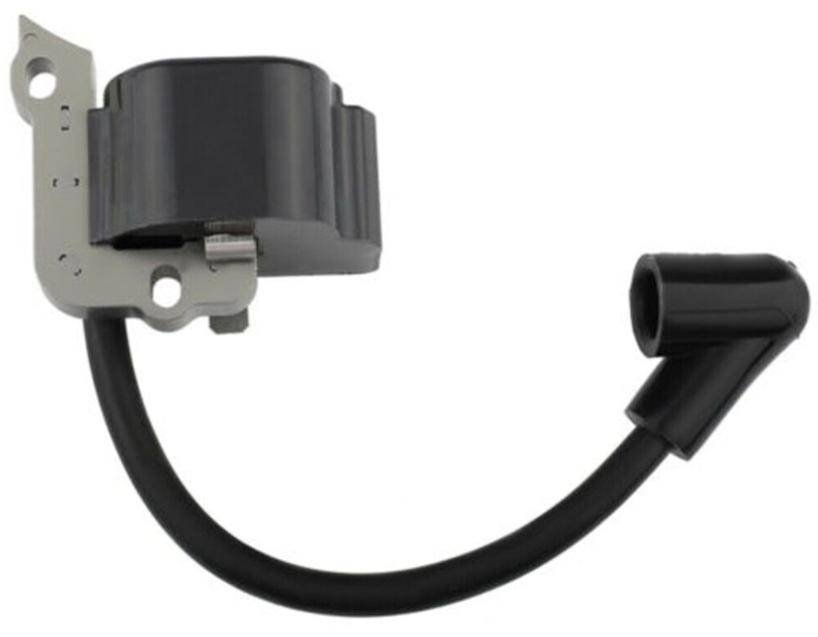
How to replace an ignition coil
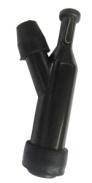
- Disconnect the spark plug wire and remove the spark plug so the engine can't accidentally fire while you work.
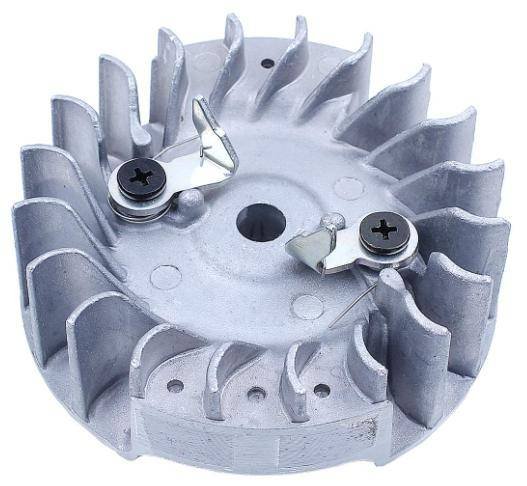
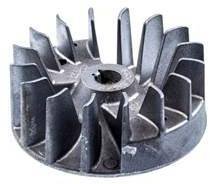
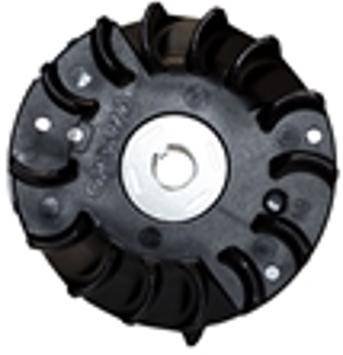
- Remove the starter/recoil housing (usually 3-4 screws) to expose the flywheel and ignition coil.
- Disconnect the kill-switch wire from the coil, noting its routing for reassembly.
- Remove the two coil mounting screws and lift the coil away from the flywheel.
- Set the air gap on the new coil. Most coils use a feeler gauge or a plastic gap-setting card (often included) placed between the coil and the flywheel magnet before tightening the mounting screws — check your manual for the exact gap spec (commonly 0.008″-0.012″).
- Reconnect the kill-switch wire, reinstall the recoil housing, spark plug, and plug wire.
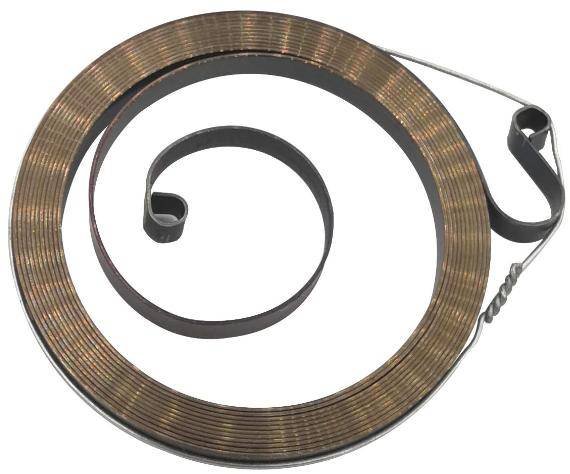
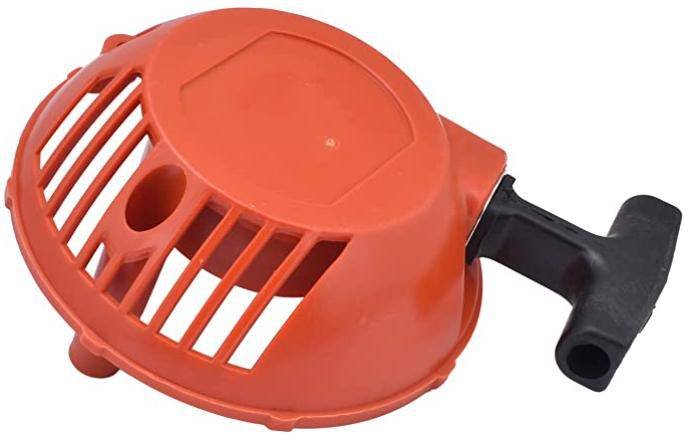
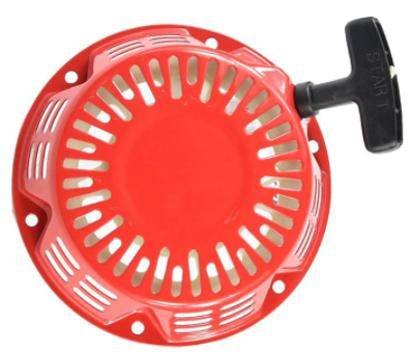
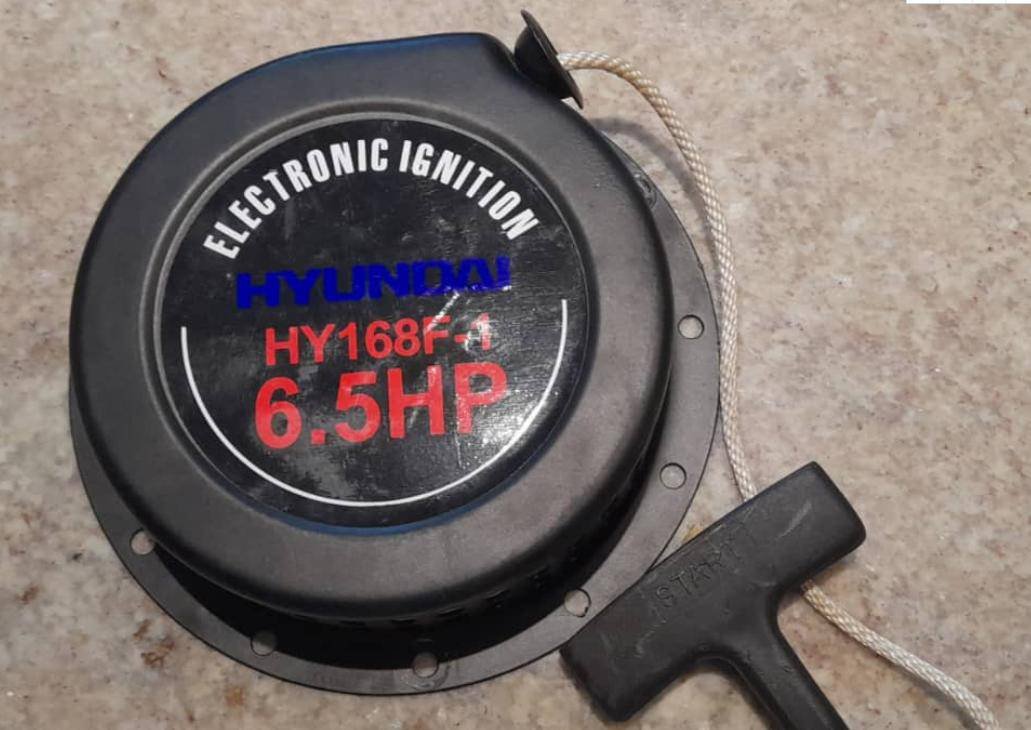
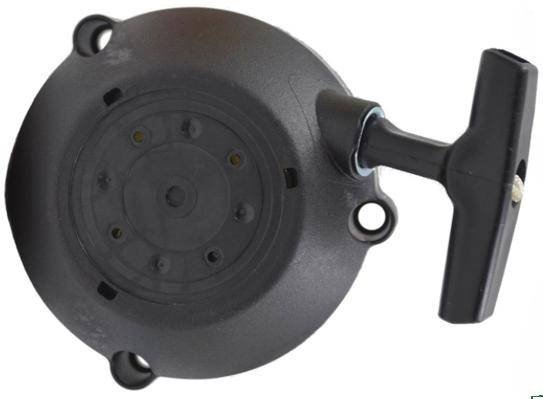
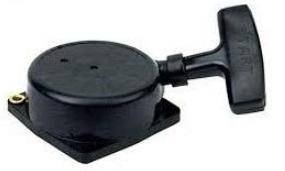
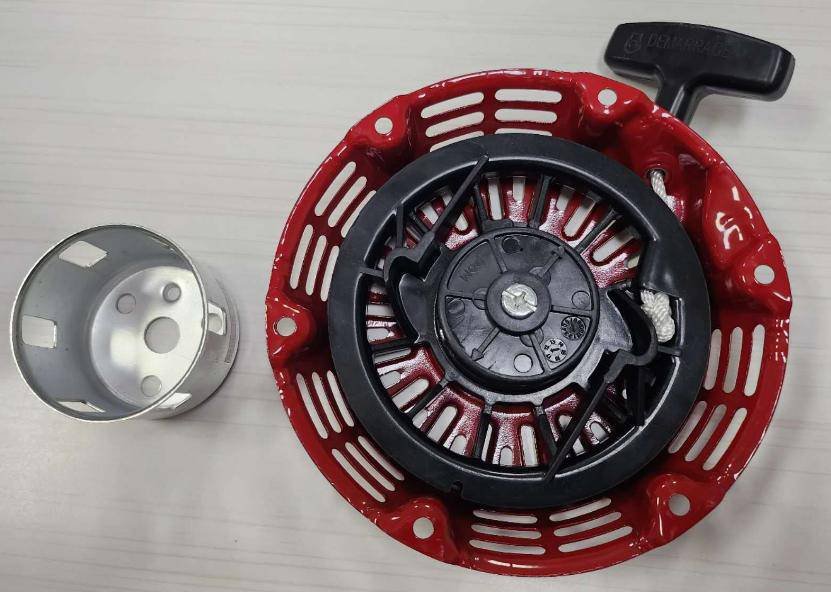
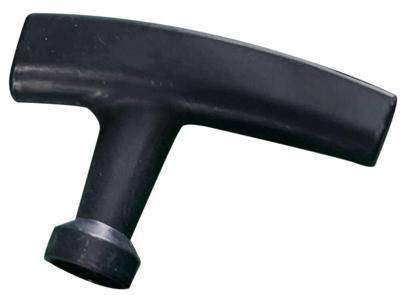
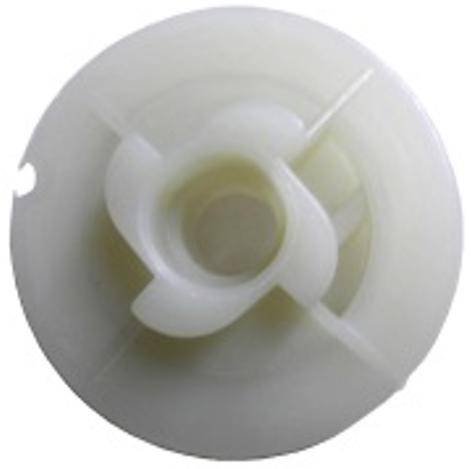
How to replace a recoil starter / pull cord
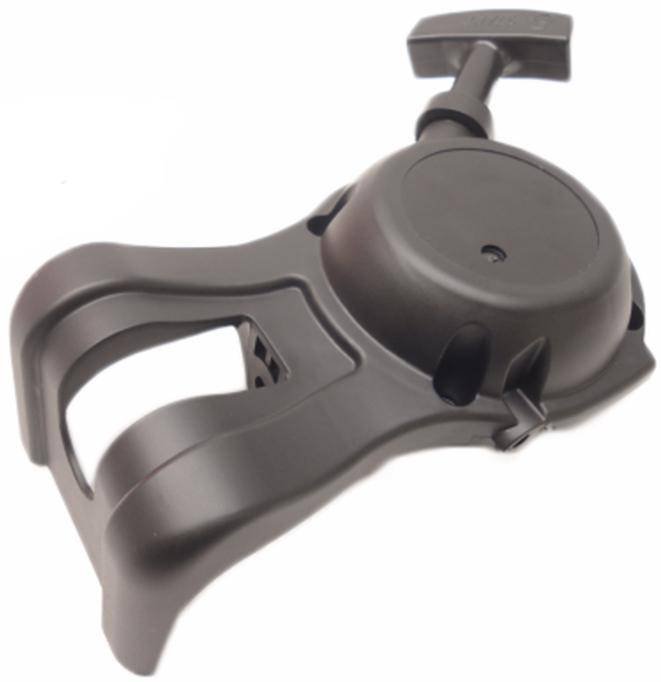
- Remove the starter housing from the engine, usually 3-4 screws around its perimeter.
- Relieve spring tension carefully. If you're only replacing the cord (not the whole assembly), let the pulley slowly unwind by hand — never let it snap back, the recoil spring can injure fingers.
- For a cord-only repair: pull the pulley out slightly, remove the old cord and knot, thread the new cord through the pulley and handle, tie a secure knot, and let the pulley wind back slowly while holding tension.
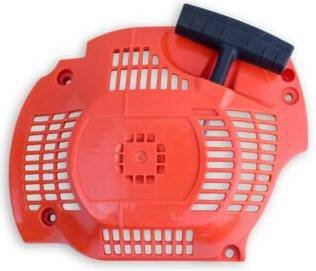
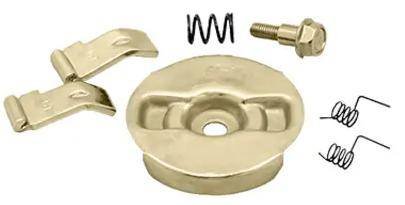
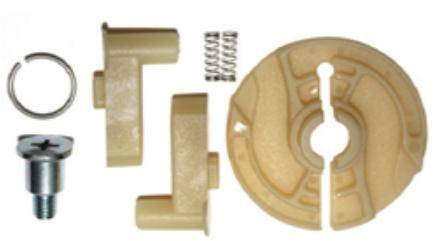
- For a full assembly replacement: swap the entire housing/pulley/spring unit as one part, since the whole starter is sold assembled.
- Reinstall the starter housing and test the pull — it should return smoothly with no grinding or slack.
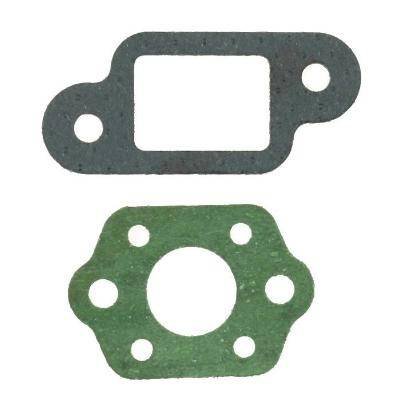
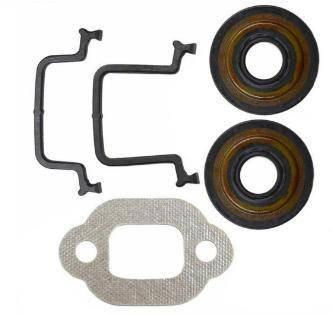
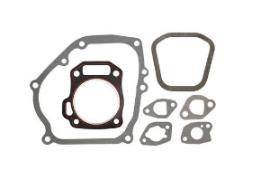
How to replace a gasket set
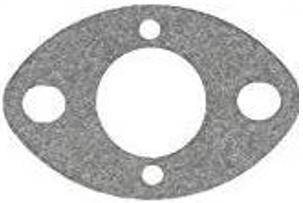
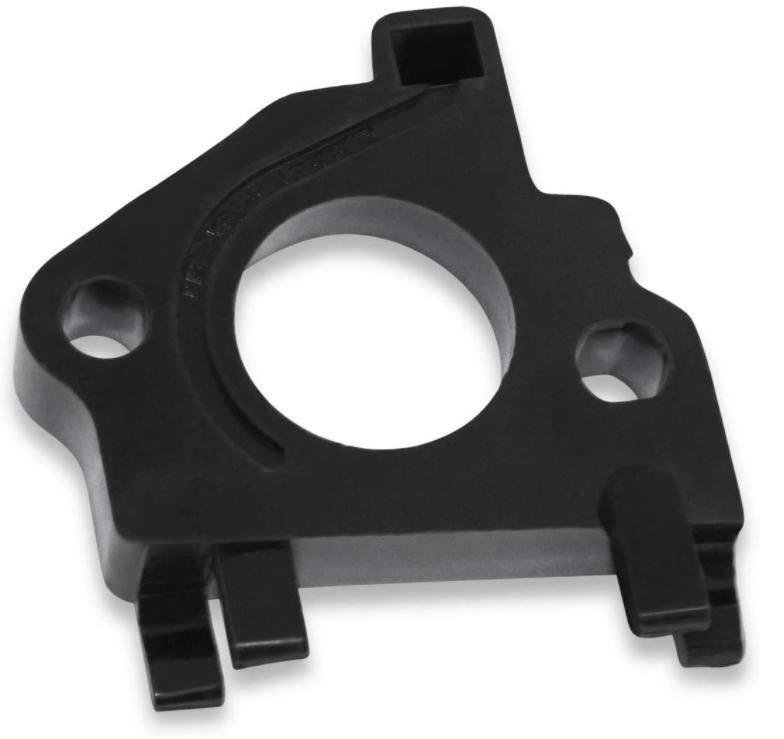
- Identify which gasket you're replacing — carburetor-to-manifold, manifold-to-cylinder, or a full overhaul set covering multiple mating surfaces.
- Remove the component (carburetor, manifold, or cylinder head) covering the gasket, following the relevant removal steps above.
- Scrape off the old gasket material carefully with a plastic scraper or gasket-removal tool — avoid gouging aluminum mating surfaces with metal tools.
- Clean both surfaces with a rag; make sure no old gasket fragments fall into the engine or carburetor throat.
- Position the new gasket dry (most small-engine gaskets don't need sealant) and reassemble in reverse order.
- Torque fasteners evenly in a criss-cross pattern rather than side-to-side, to seat the gasket flat.
Seasonal maintenance checklist
- Before storage (end of season): run the tank dry or add fuel stabilizer, remove and clean the air filter, disconnect the spark plug wire.
- Before first use (start of season): replace old fuel, check/replace the fuel filter and air filter, inspect the pull cord for fraying, check spark plug gap or replace it.
- Every 25 hours of use: clean or replace the air filter, check the fuel filter, inspect the carburetor for gum/varnish buildup if the engine idles rough.
- Hard-starting engine after storage: old fuel is the #1 cause — drain it, replace the fuel filter, and check the carburetor before assuming it's a bigger problem.
All Parts
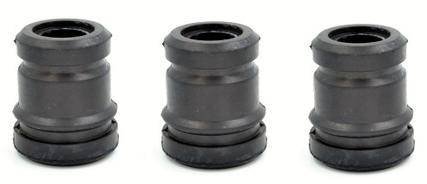
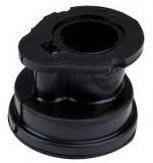
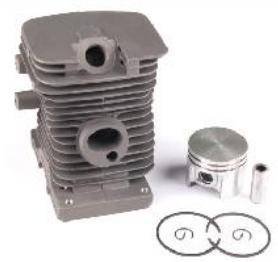
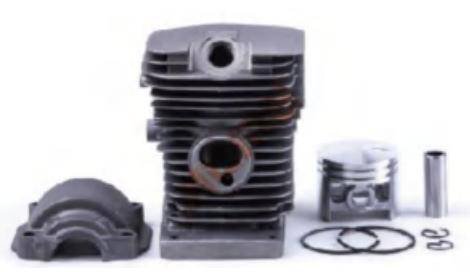
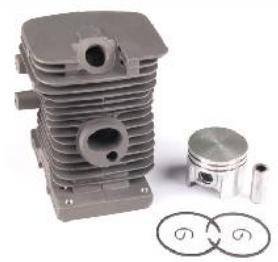
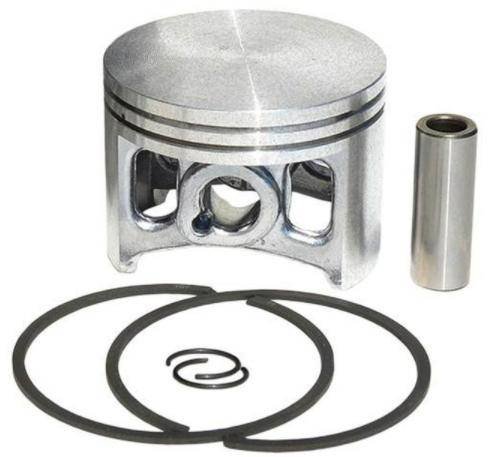
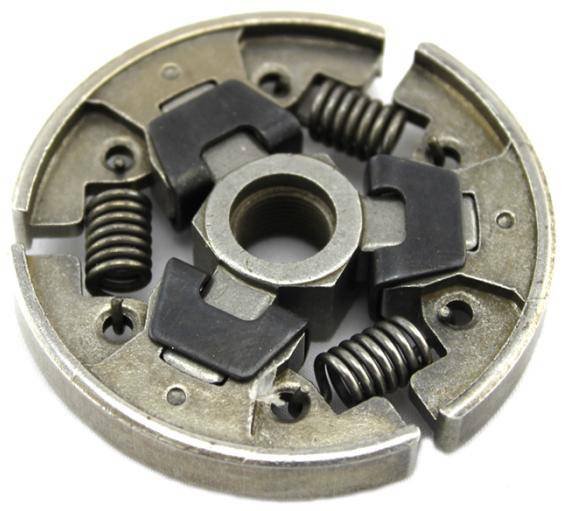
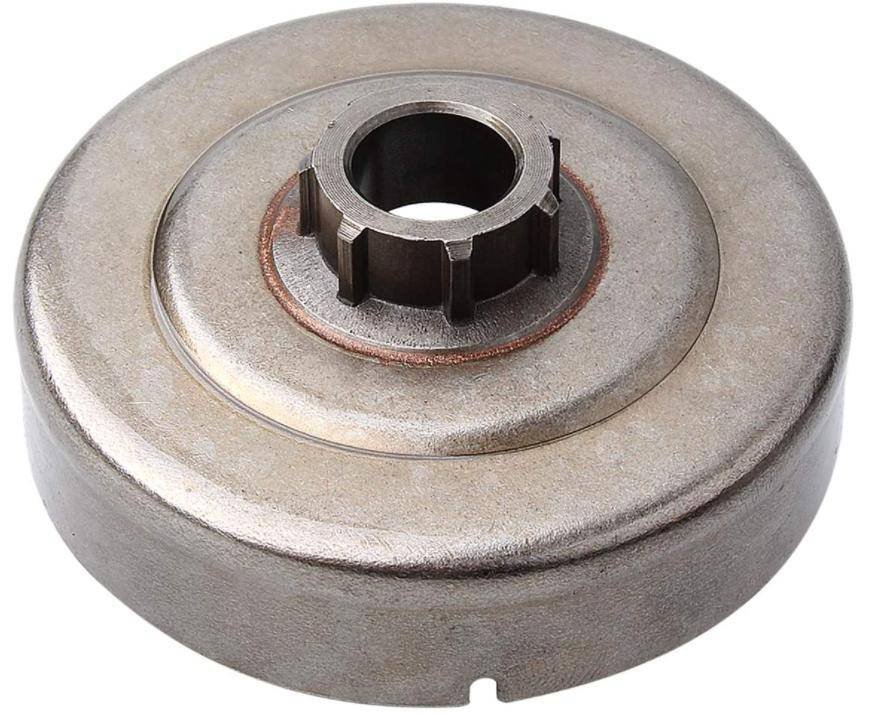
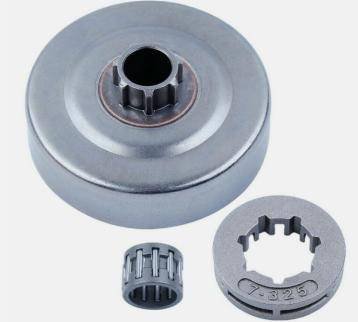
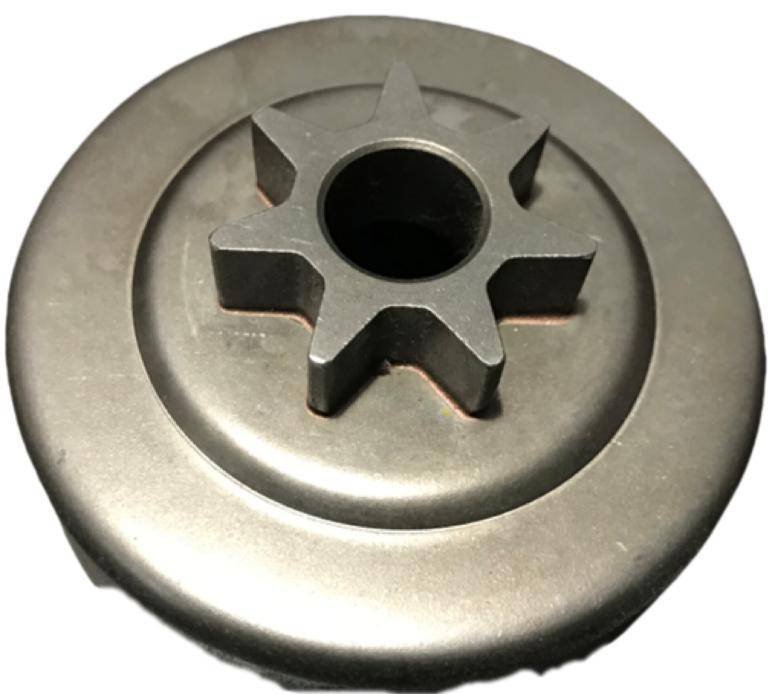
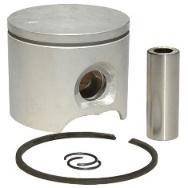
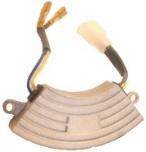
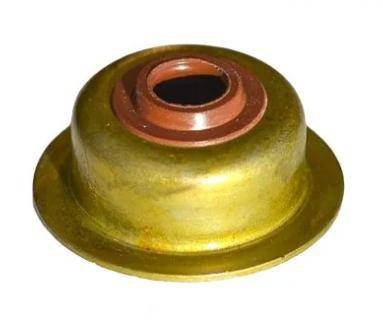
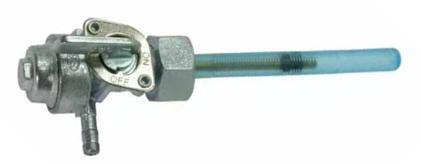
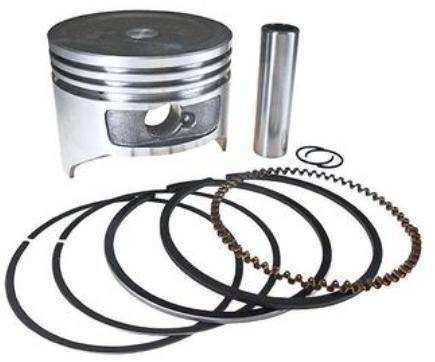
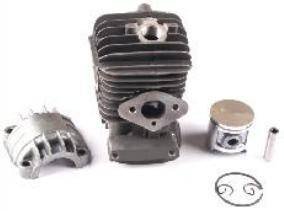
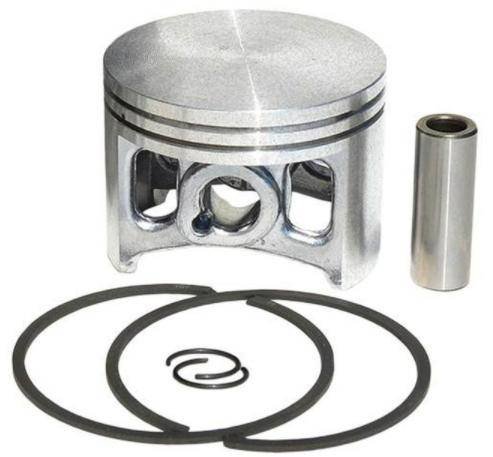
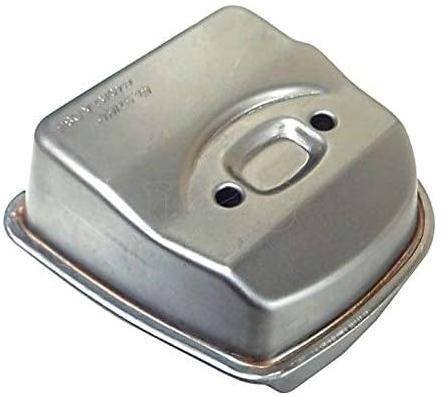
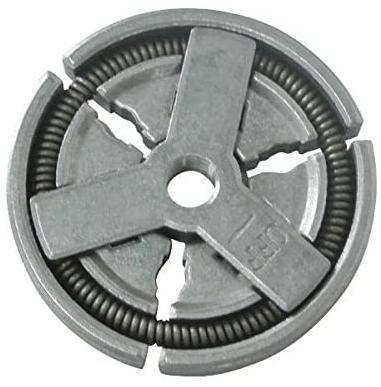
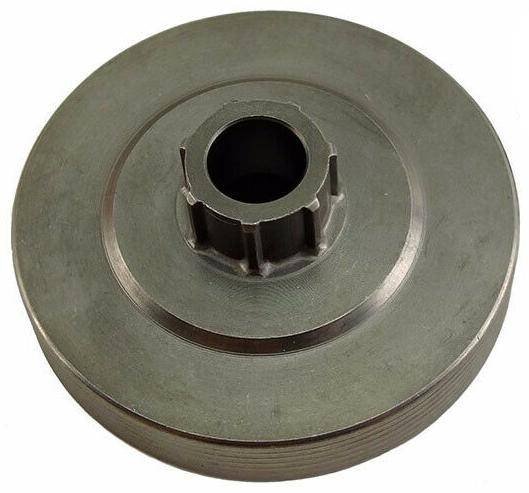
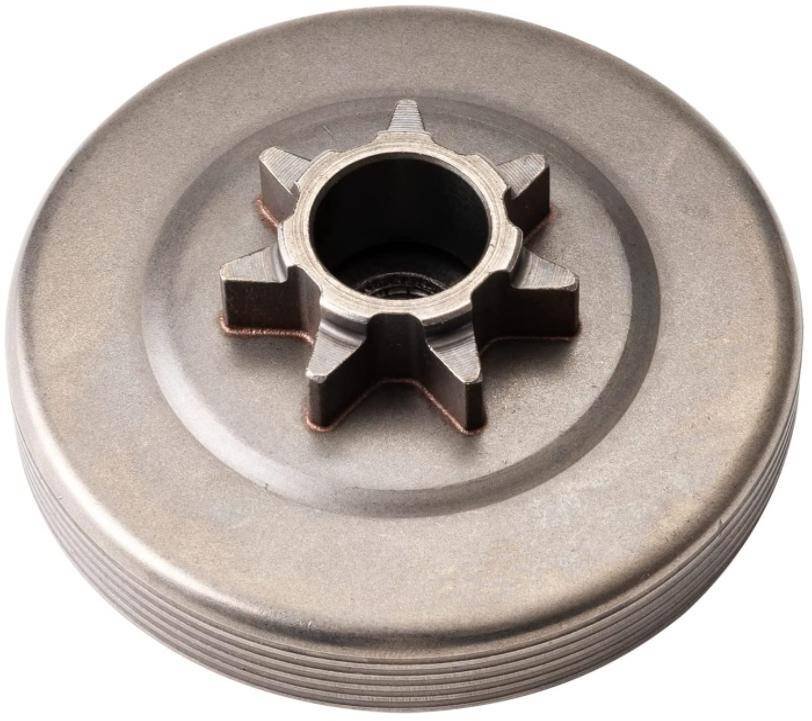
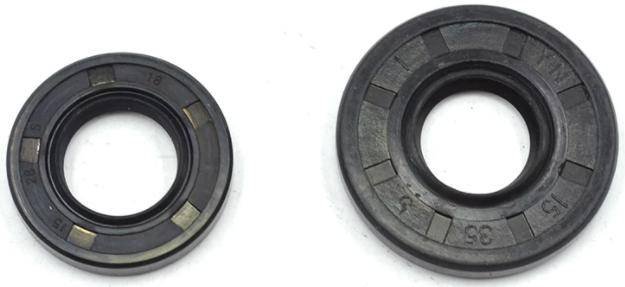
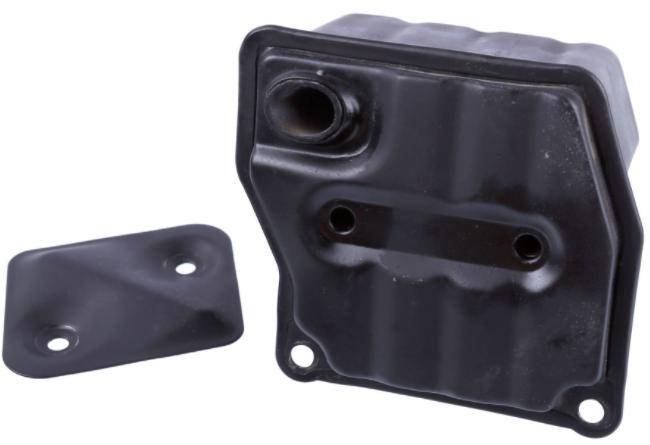
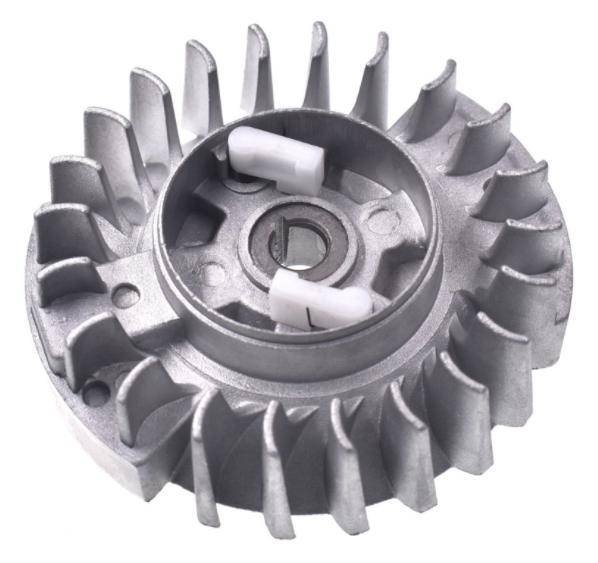
358 real parts in stock across 17 of the top 20 US models — carburetors, gaskets, filters, ignition coils, recoil starters, pistons, cylinders, clutch drums, fuel lines and more.
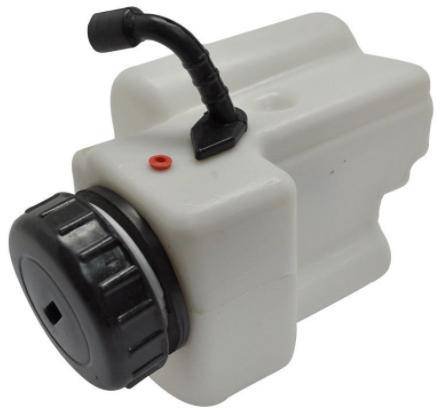
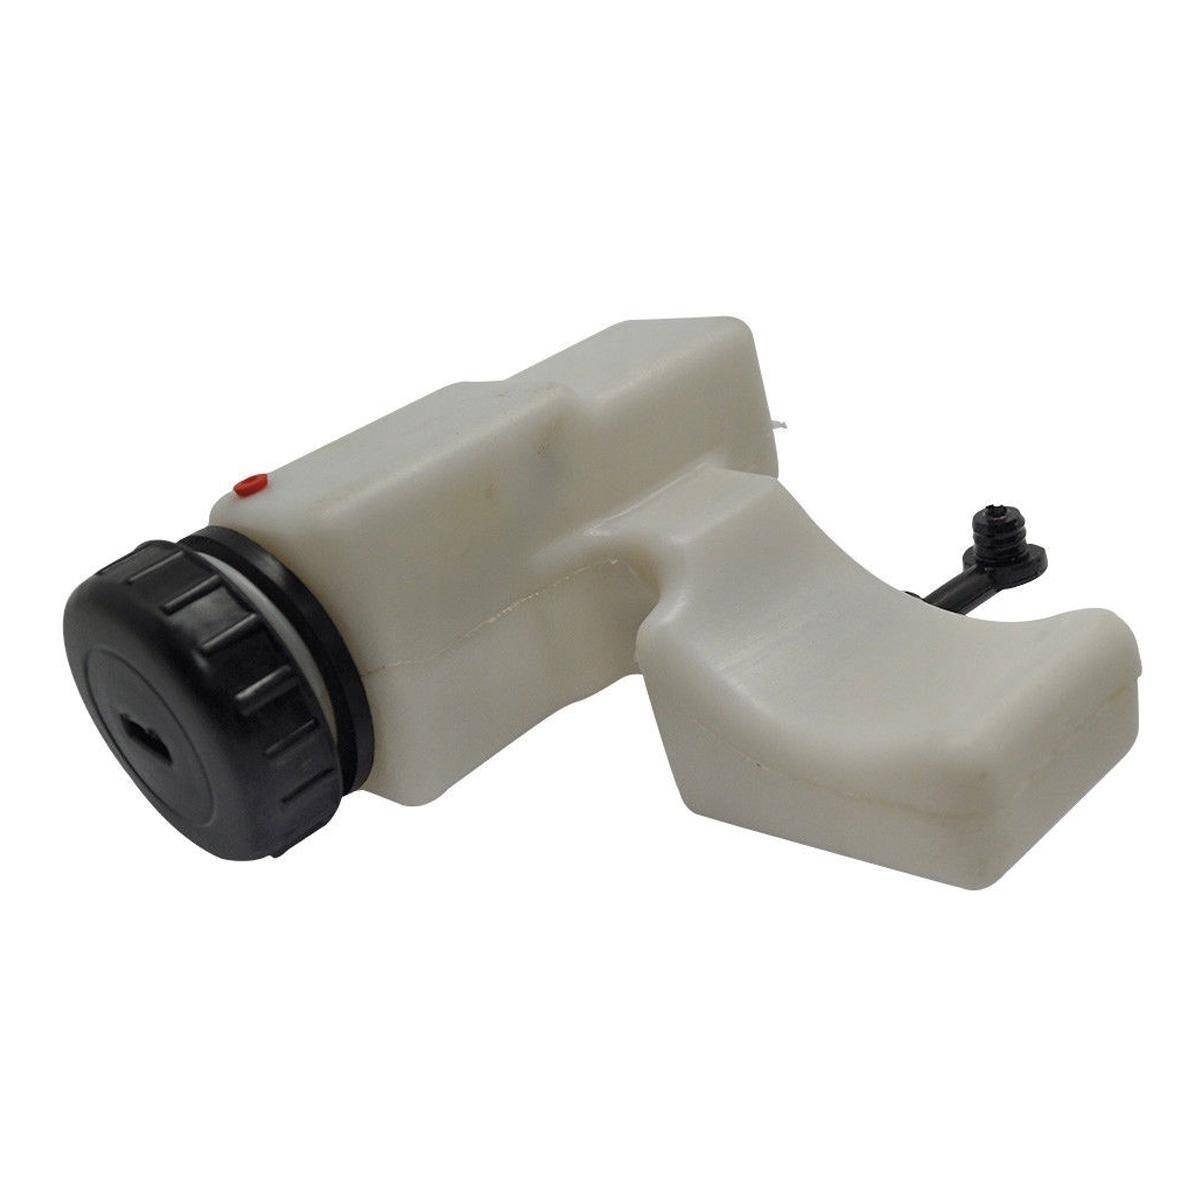
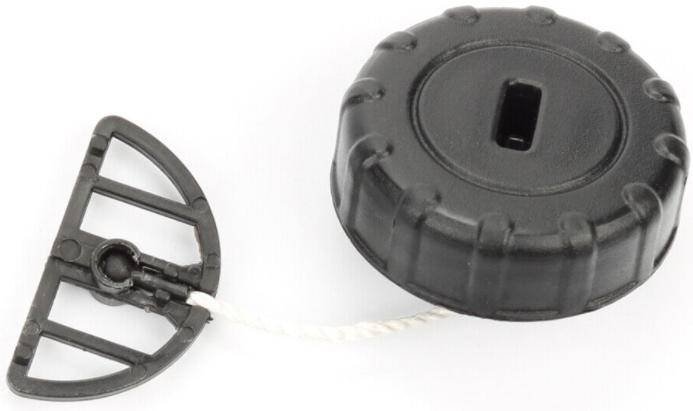
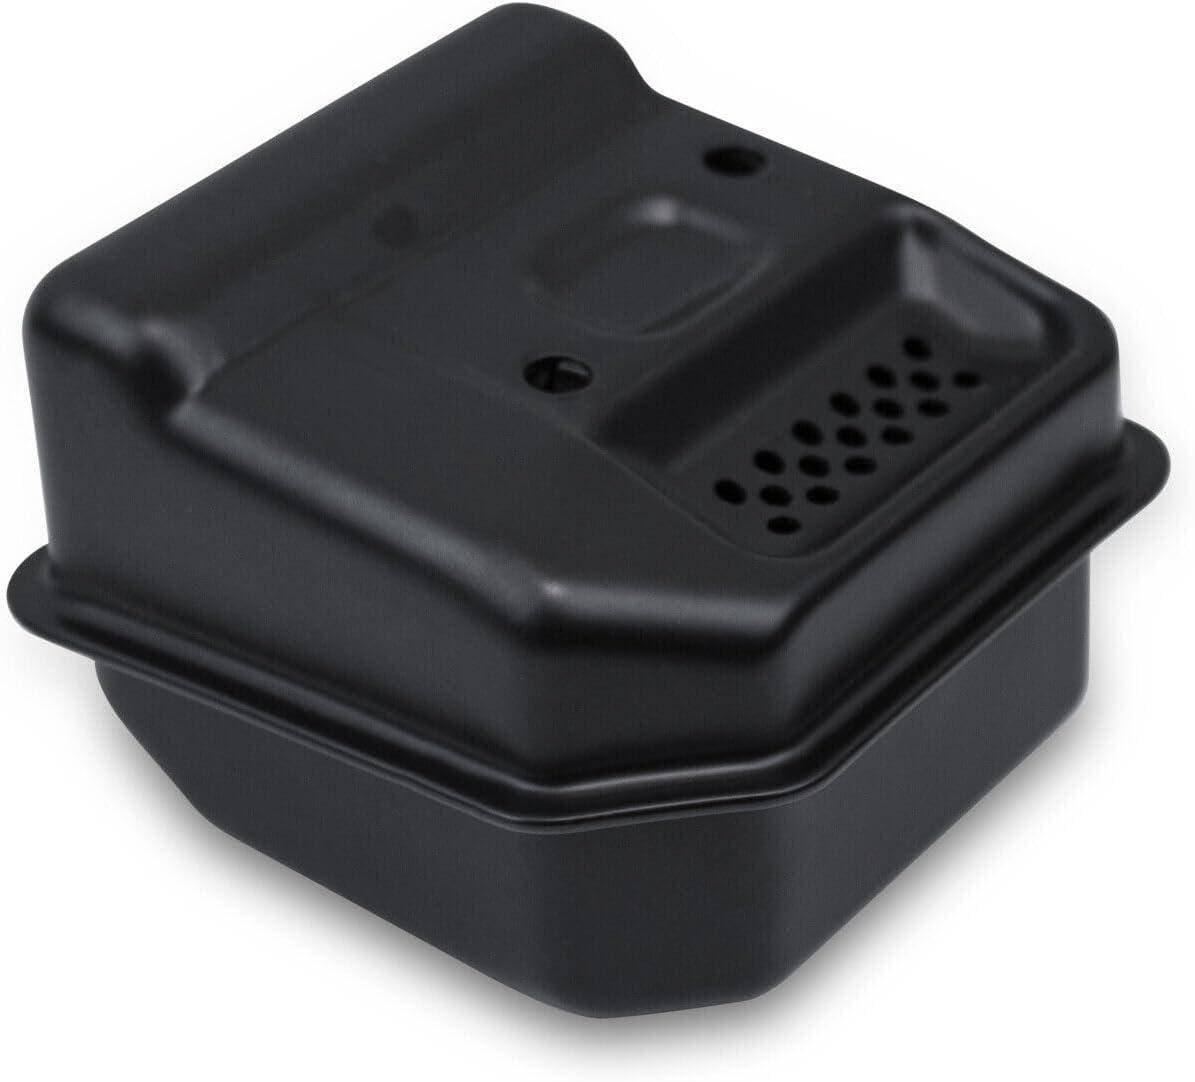
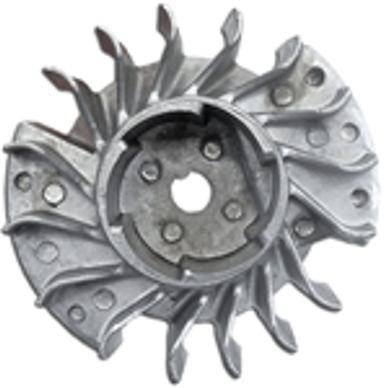
Stihl MS170 / MS180 (65 parts)
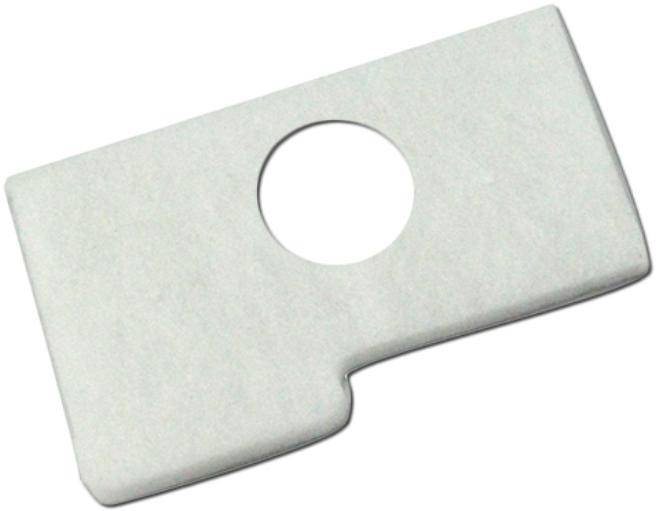
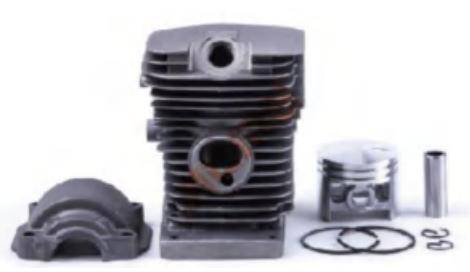
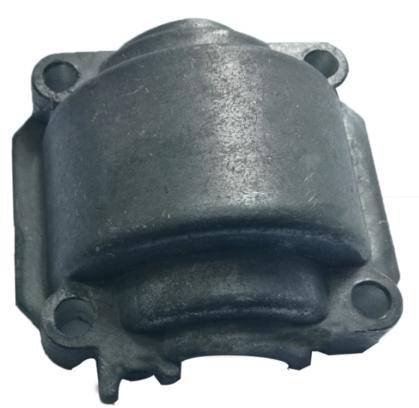
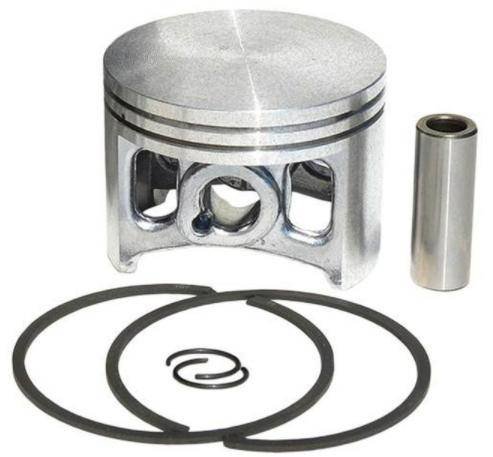


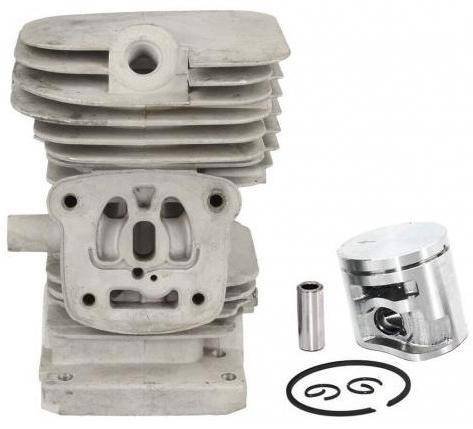
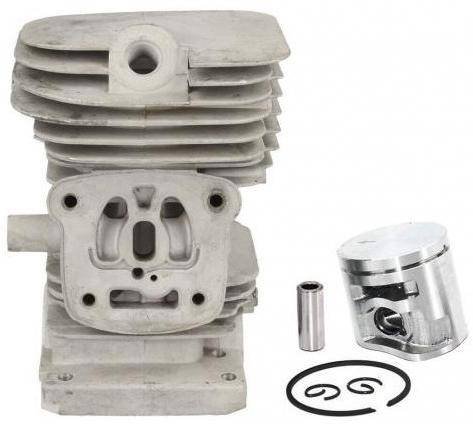
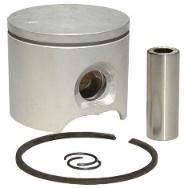
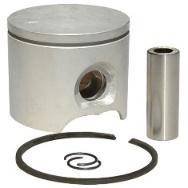
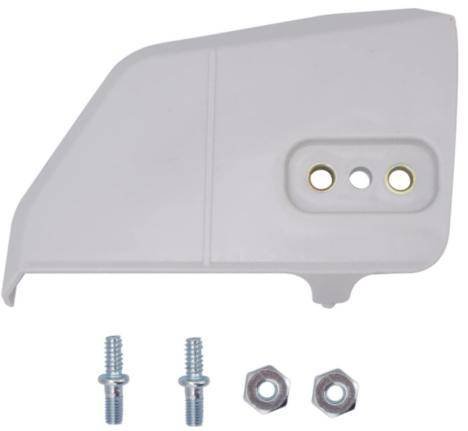
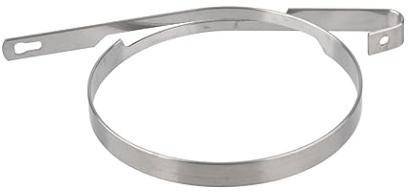
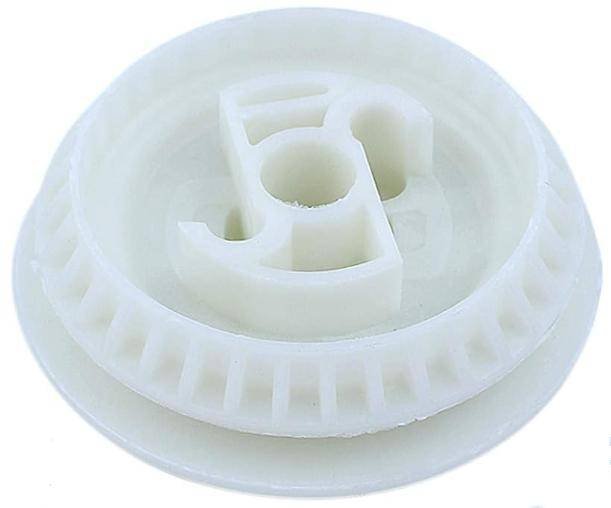
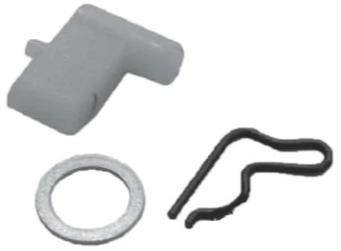
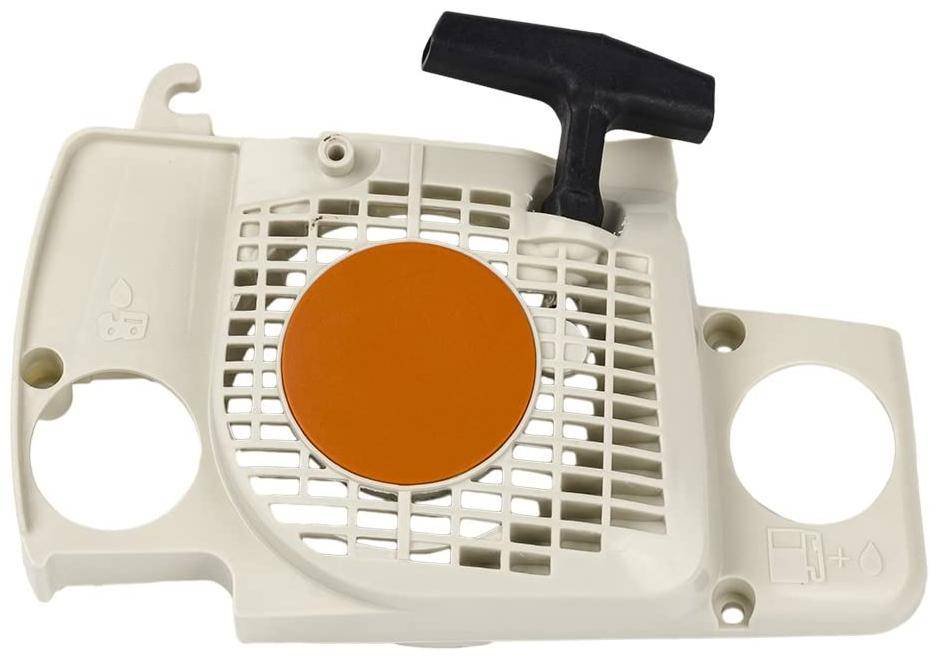
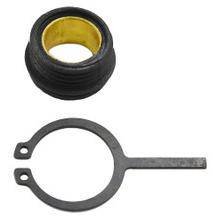
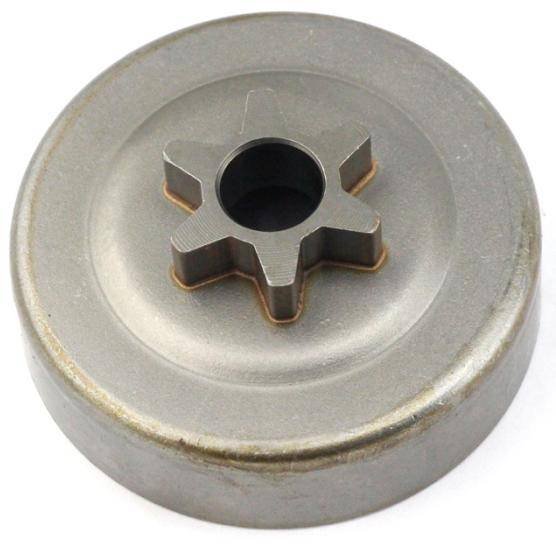
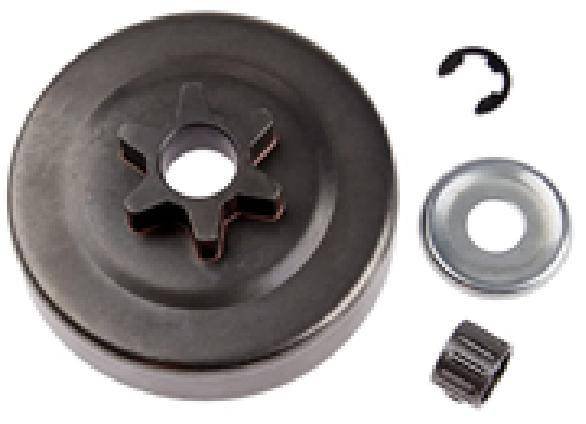
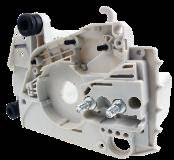
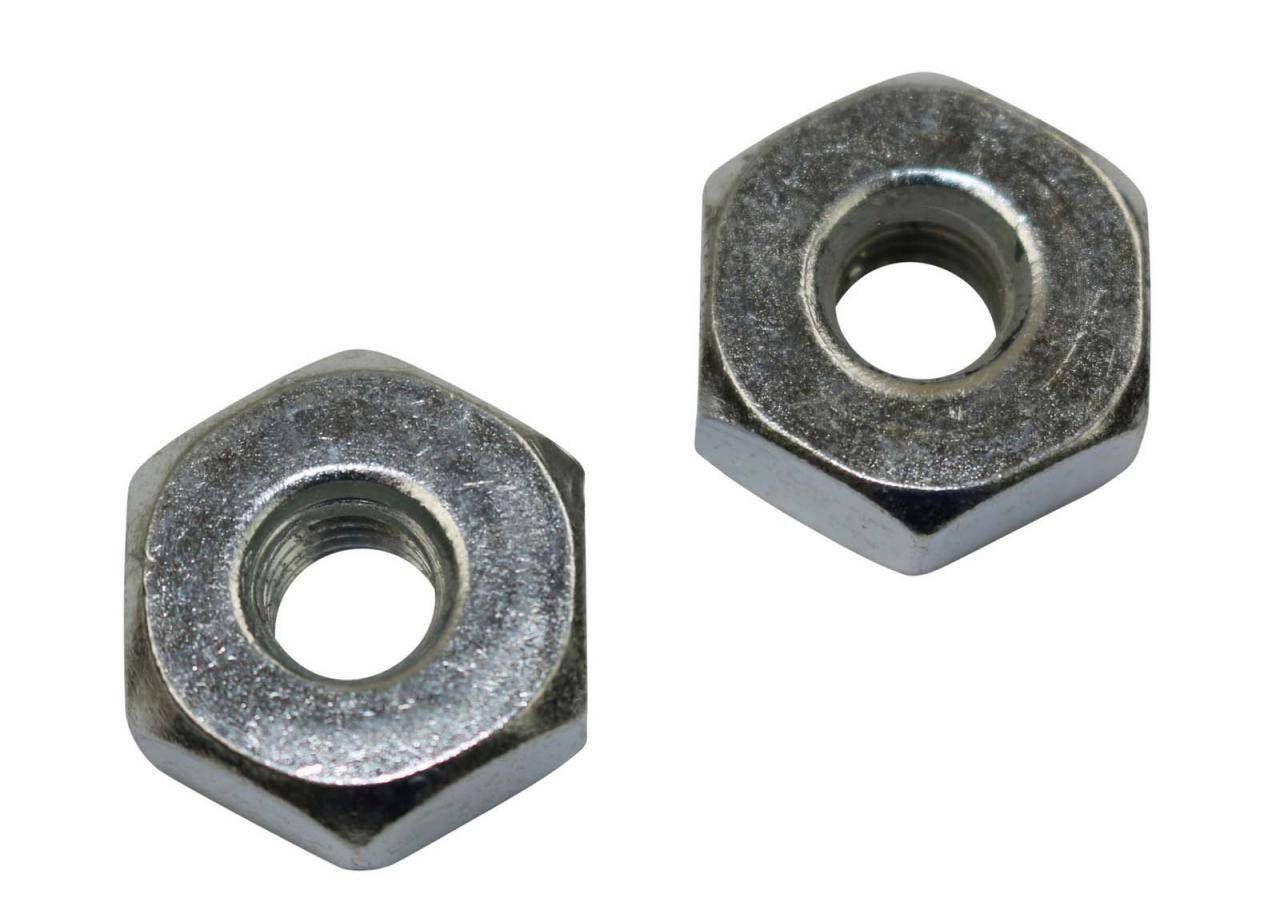
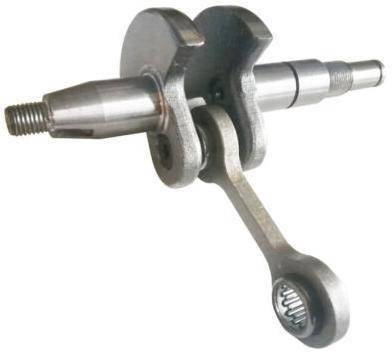
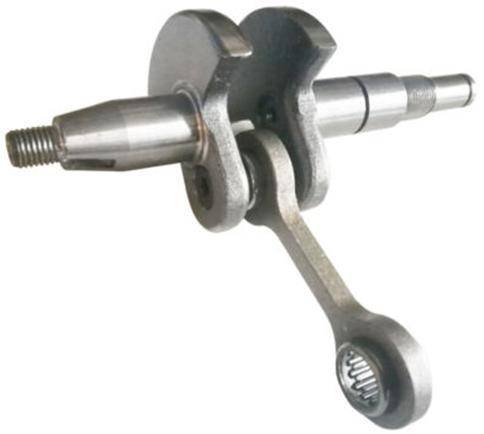
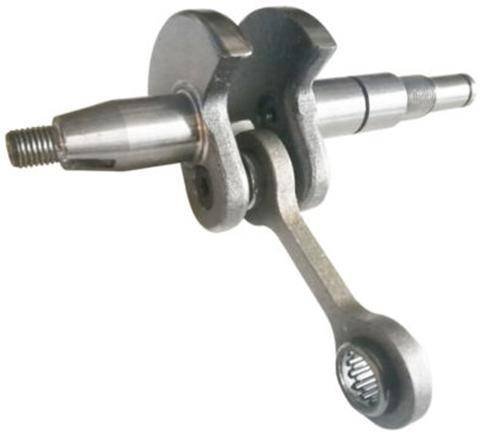
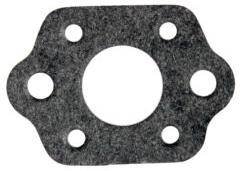
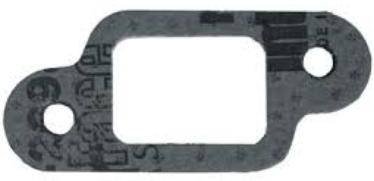

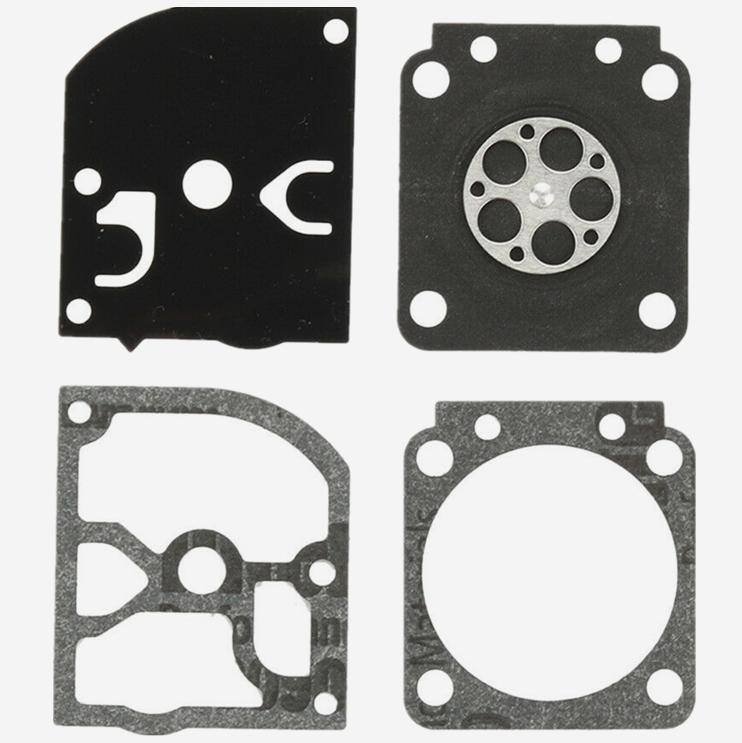
Husqvarna 440 / 445 / 450 (26 parts)

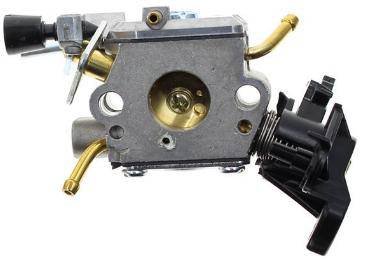
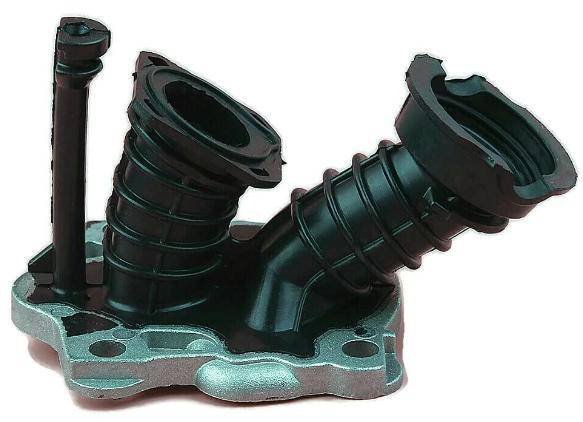
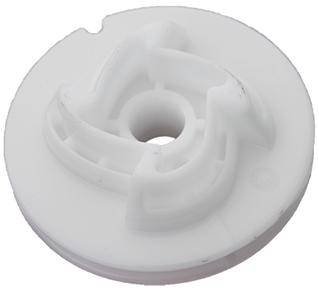
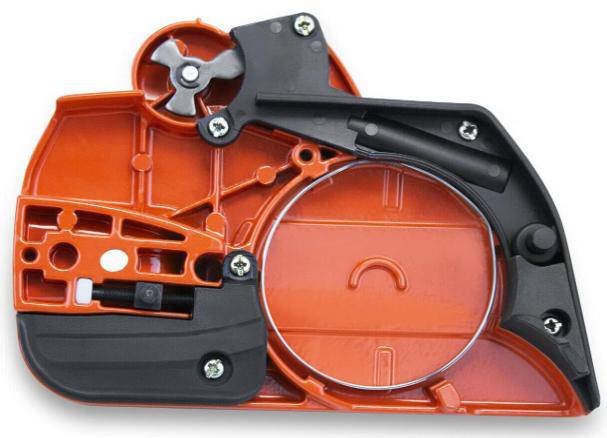
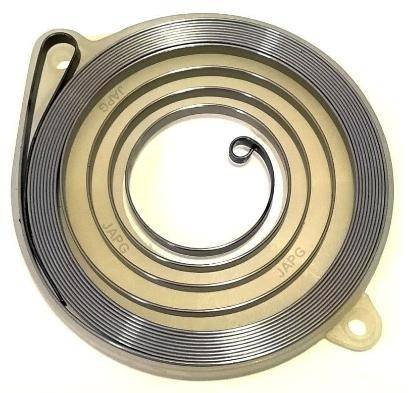
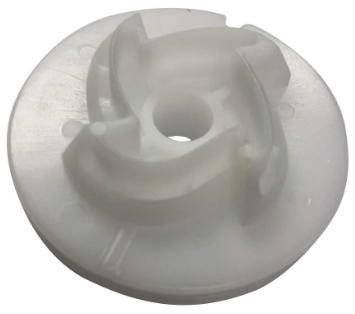
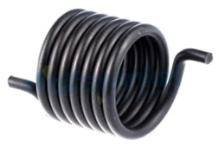



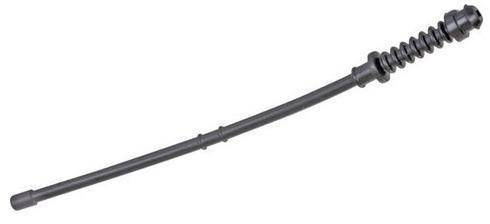


Echo CS-590 (4 parts)
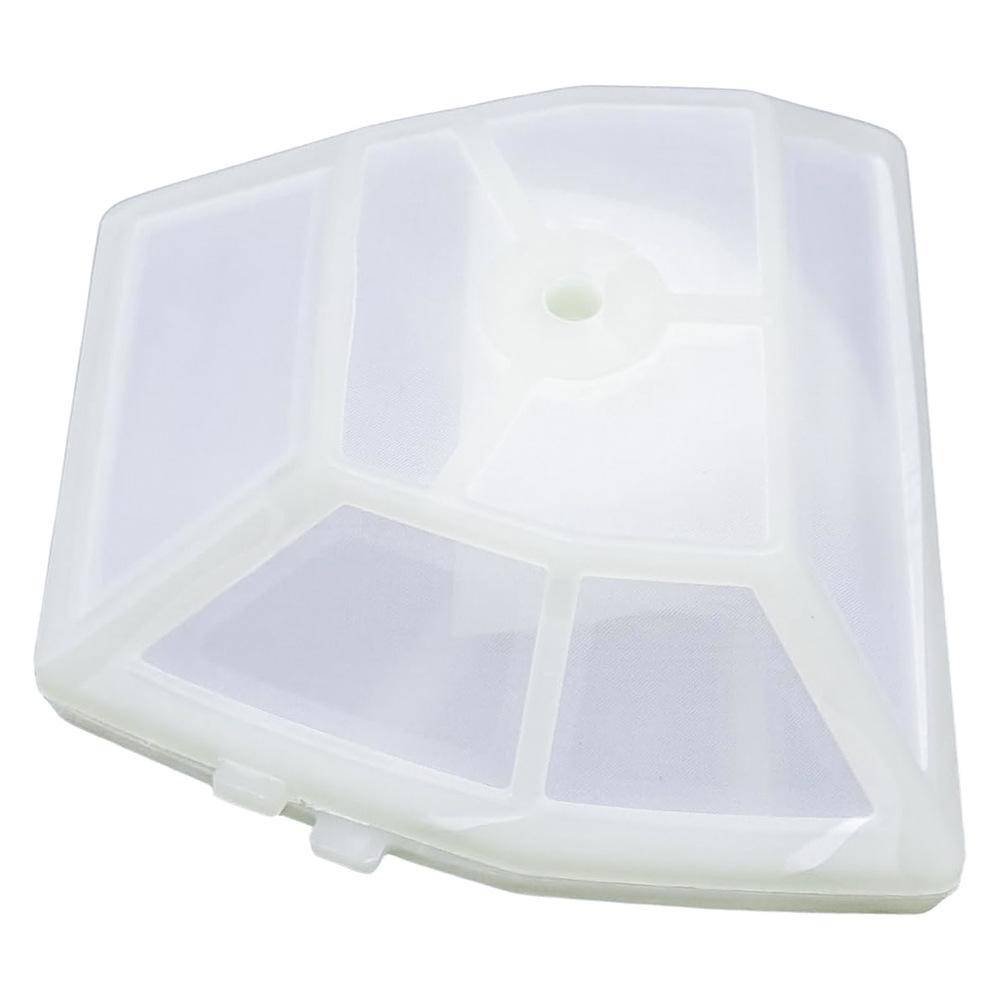
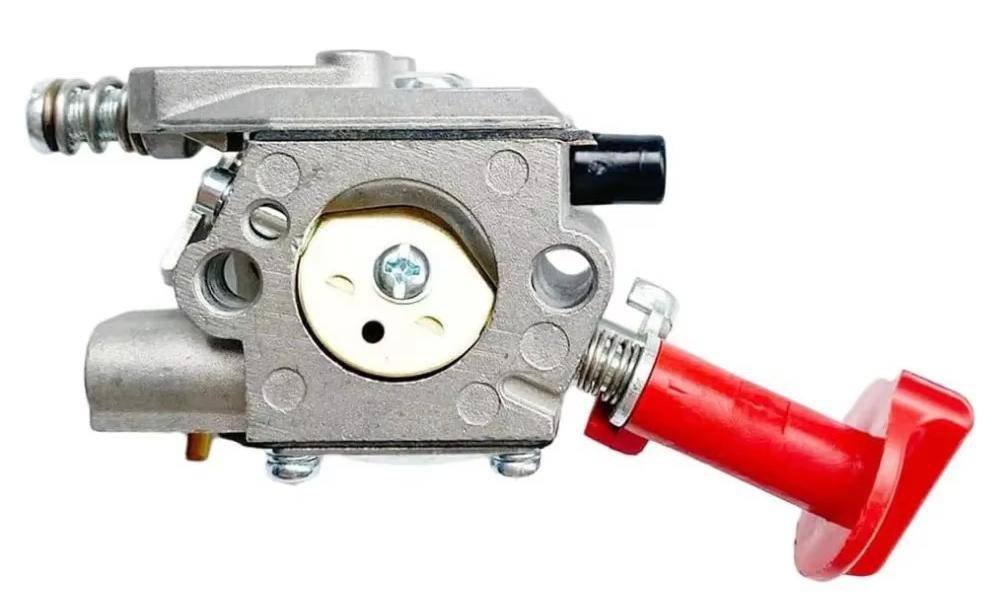
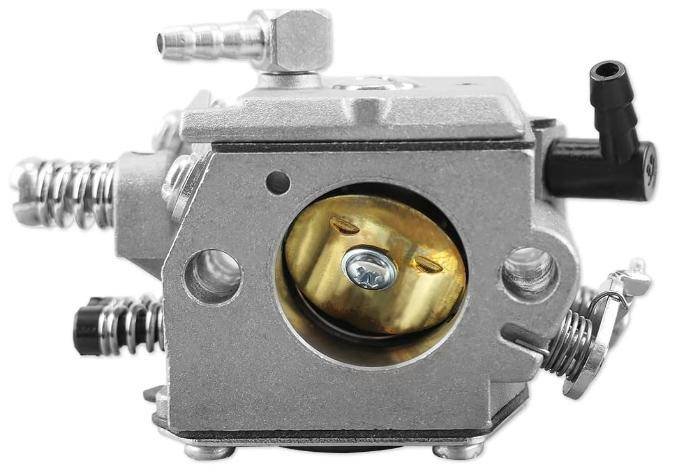
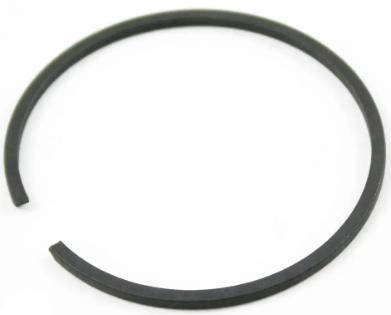
Husqvarna 128LD (13 parts)

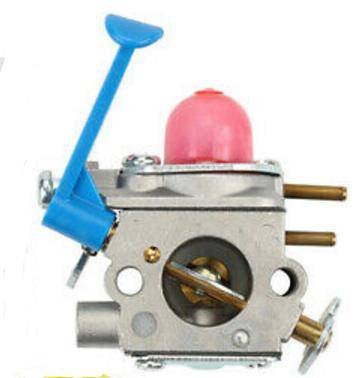

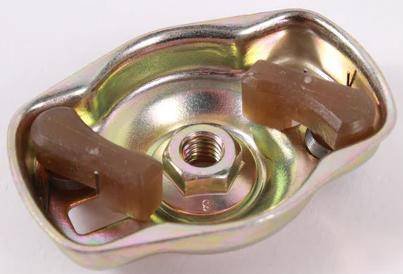


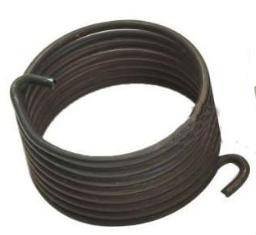


Echo SRM-225 (6 parts)

Honda GX160 / GX200 (71 parts)



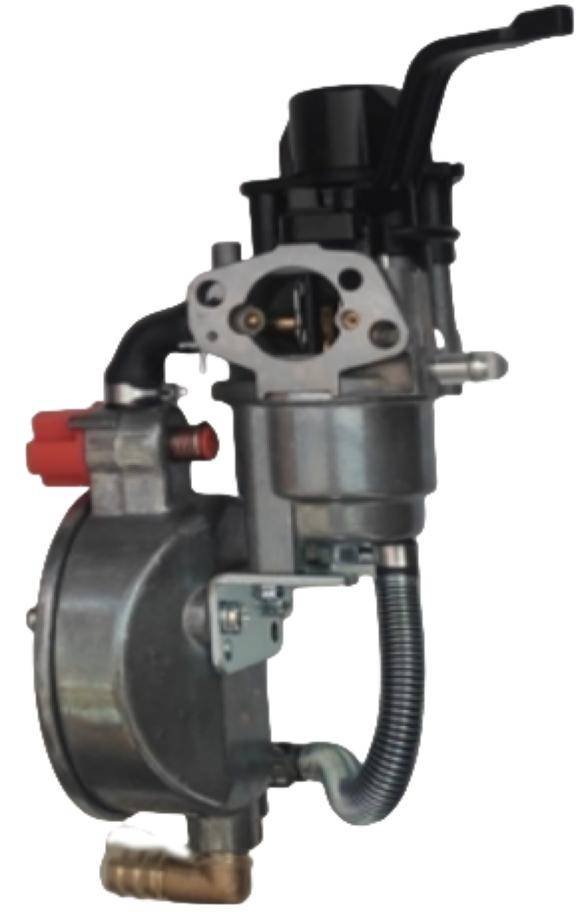
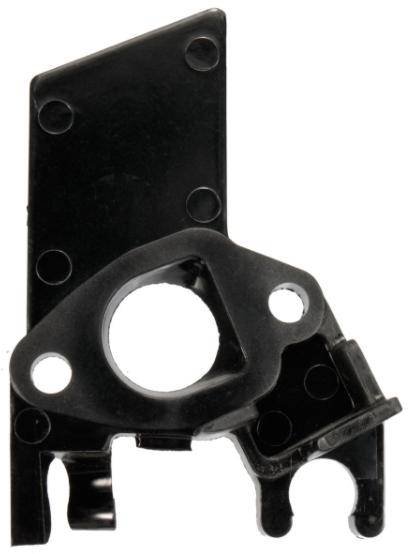
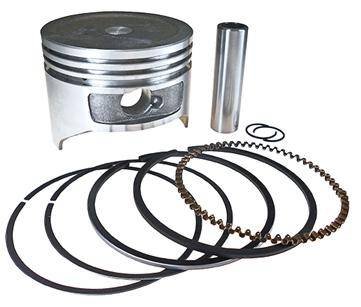
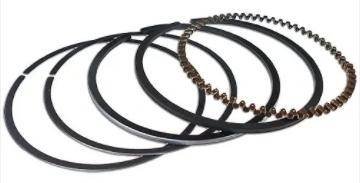
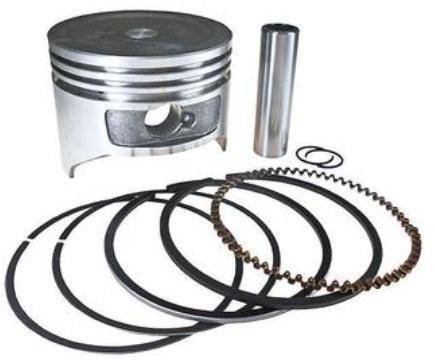
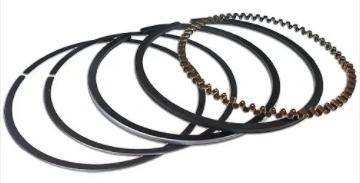











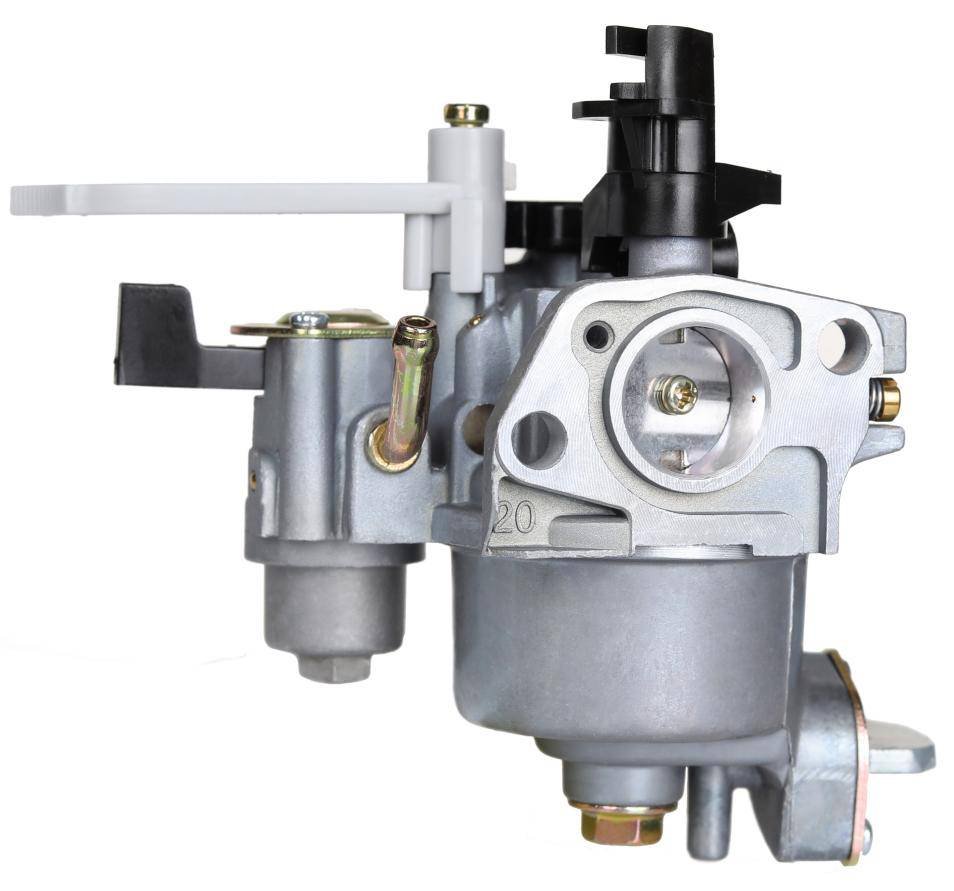


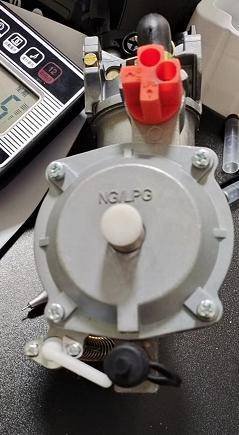
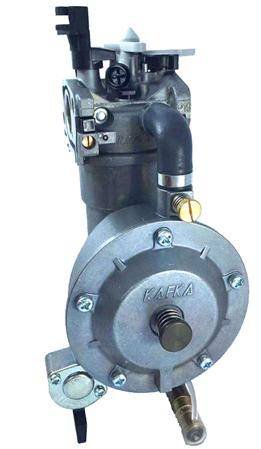


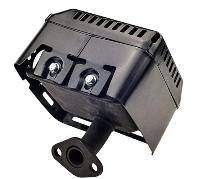


Honda GCV160 / GCV190 (21 parts)
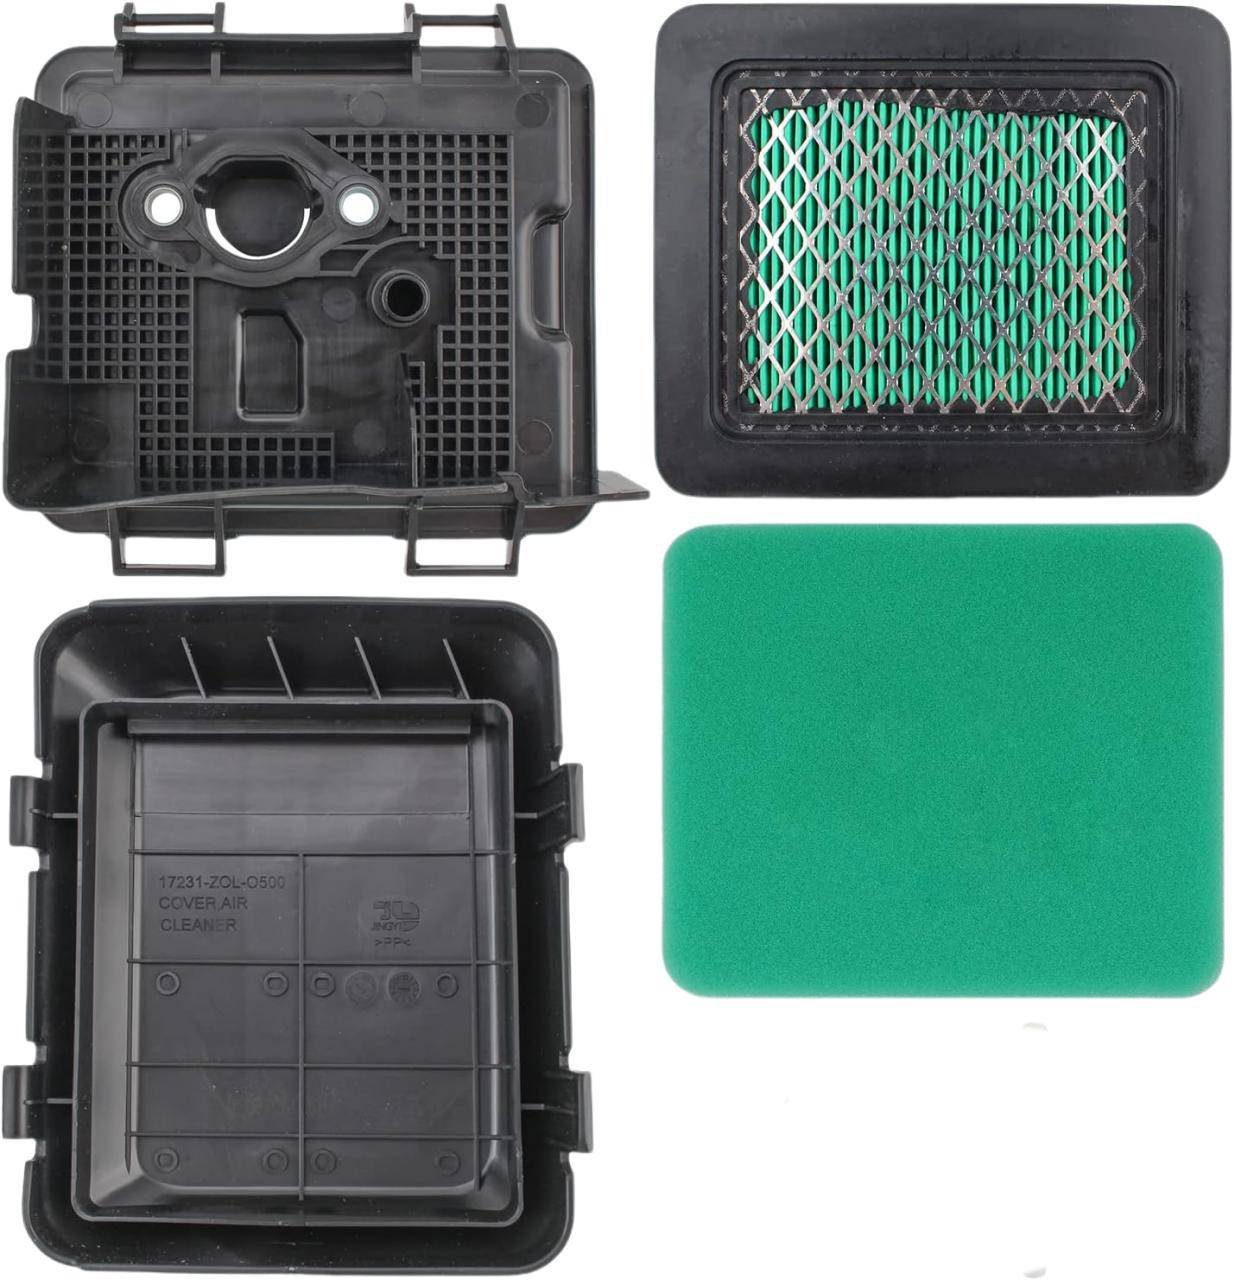

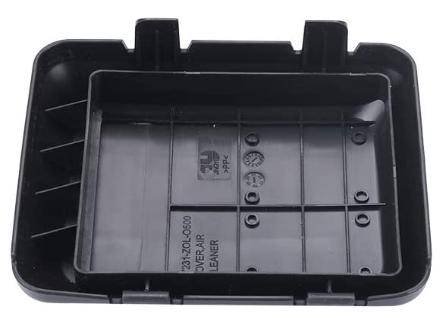



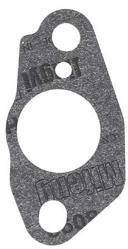

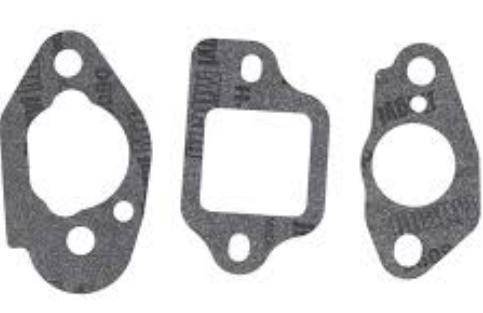
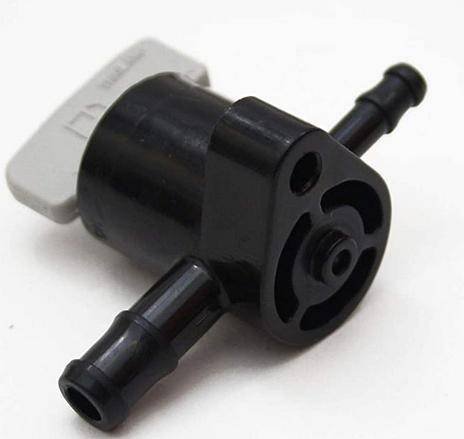
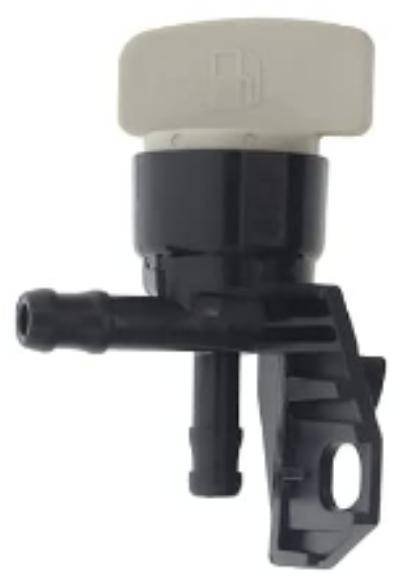
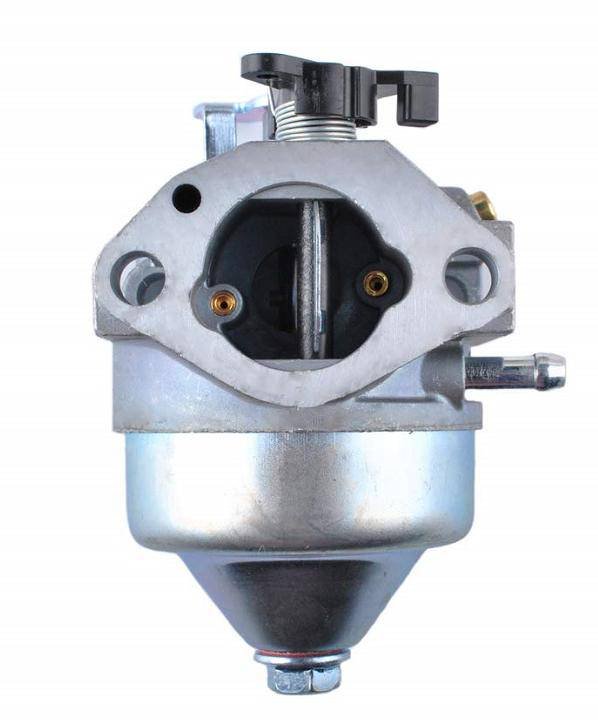
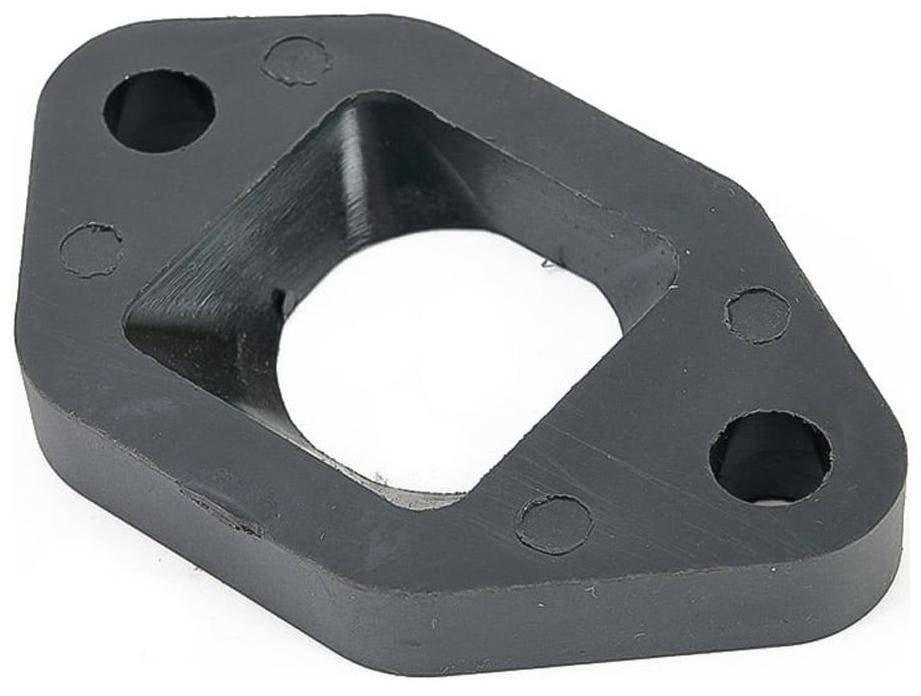
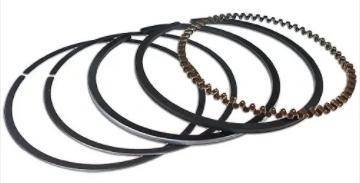
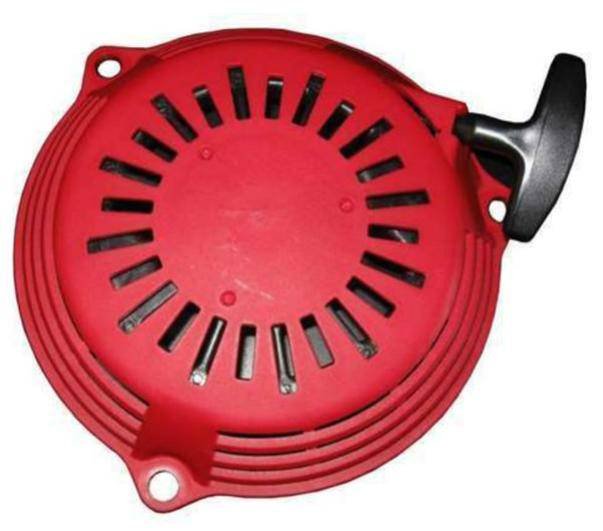
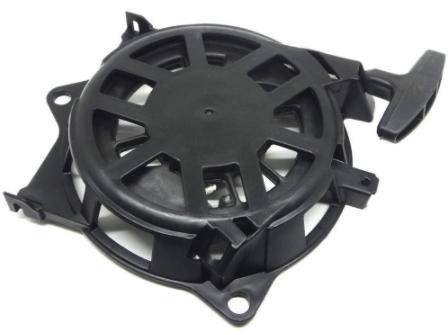

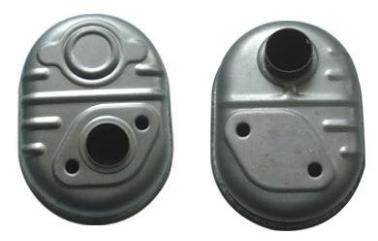
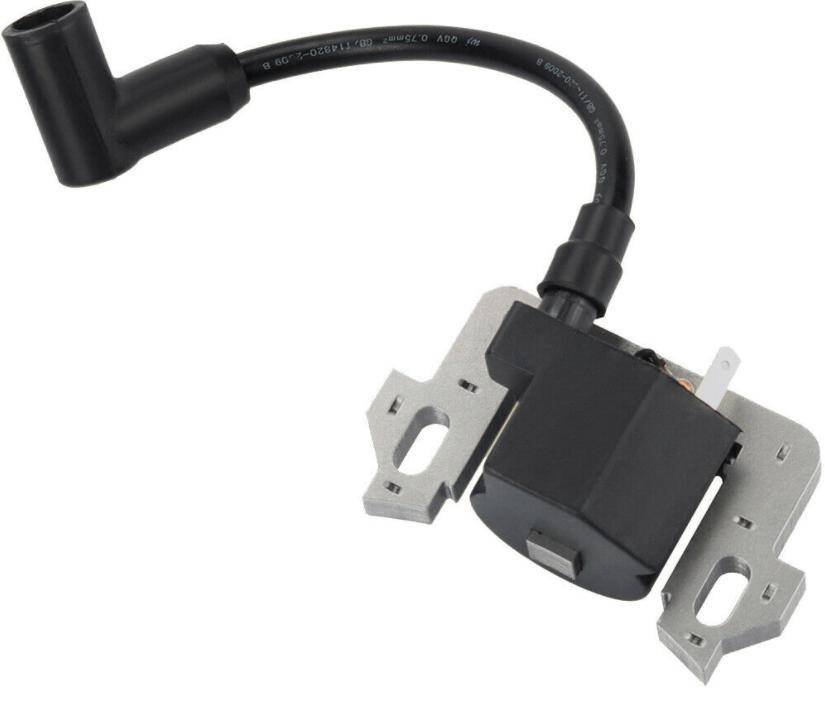
Briggs & Stratton 799584 (1 parts)
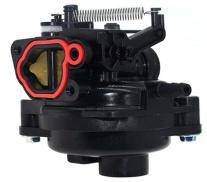
Stihl BR600 (8 parts)
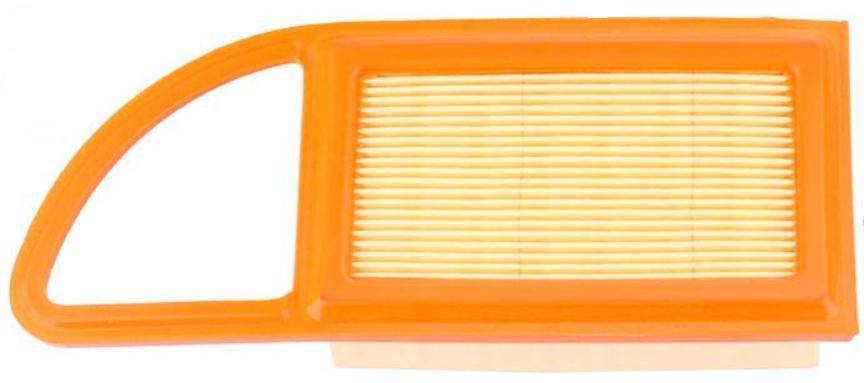
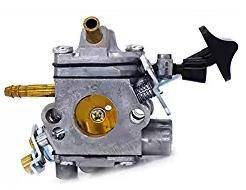

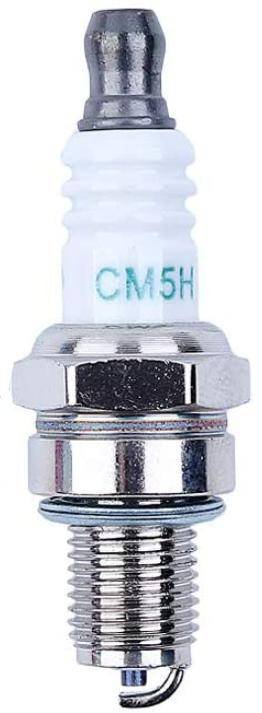
Husqvarna 150BT / 350BT (4 parts)
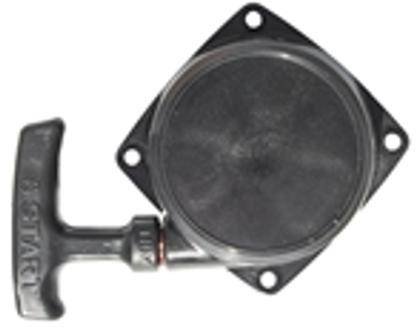

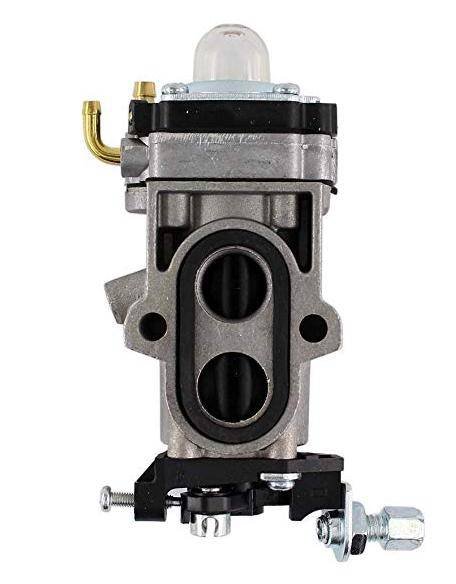
Echo PB-770 / PB-755 (6 parts)
Honda GX390 (49 parts)



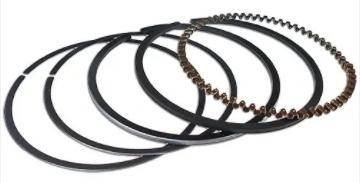
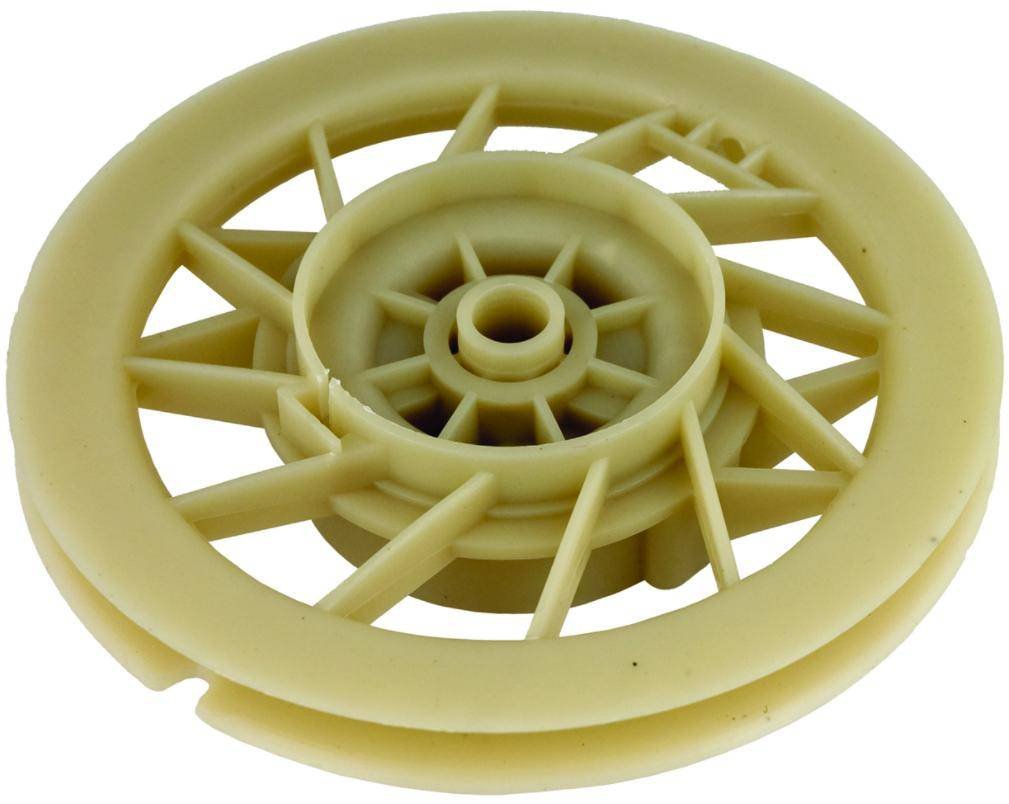
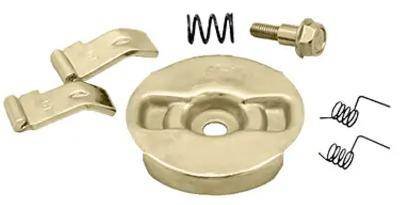
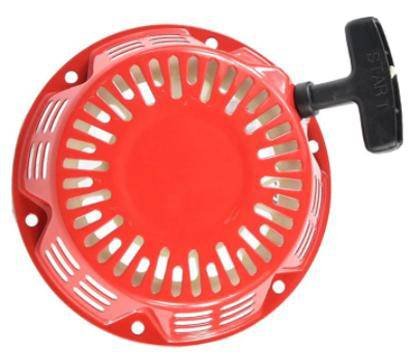

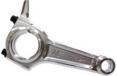
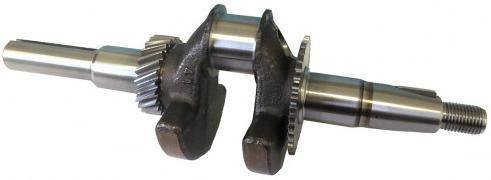


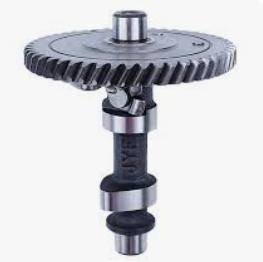

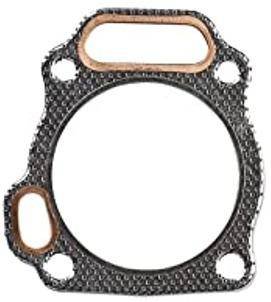




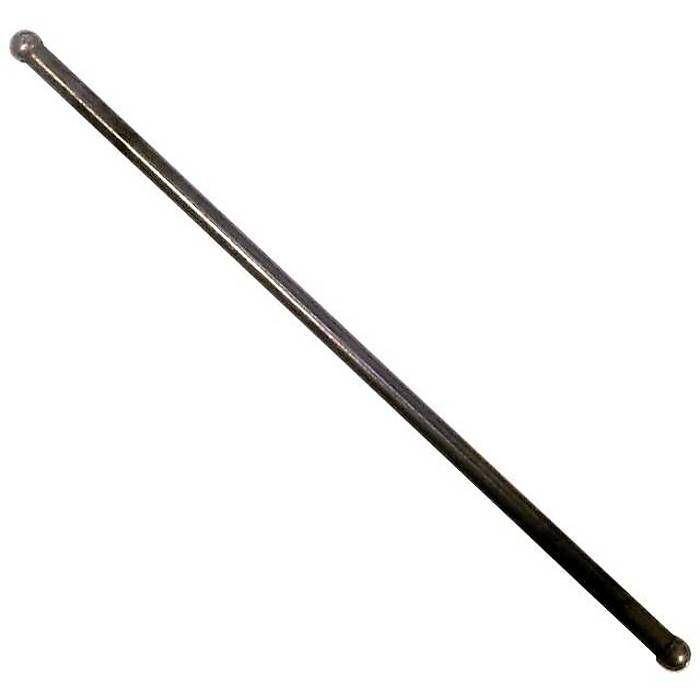


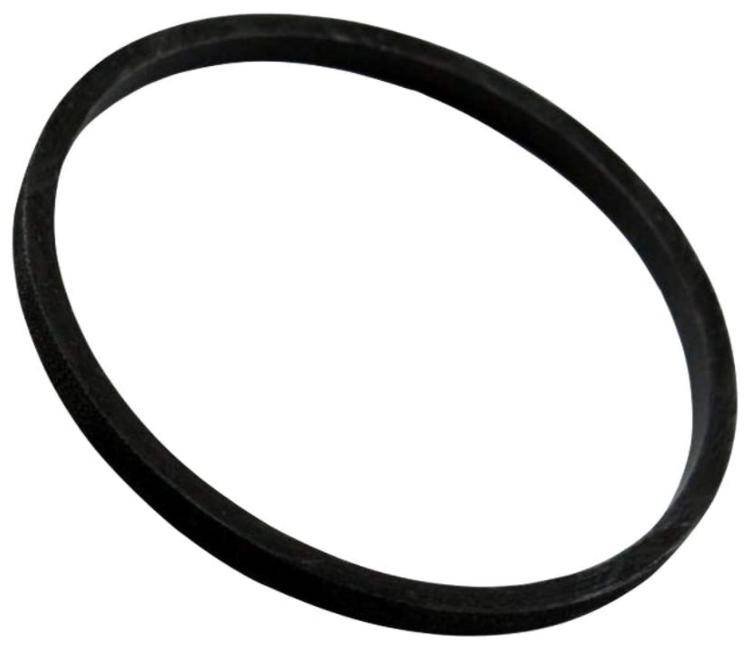
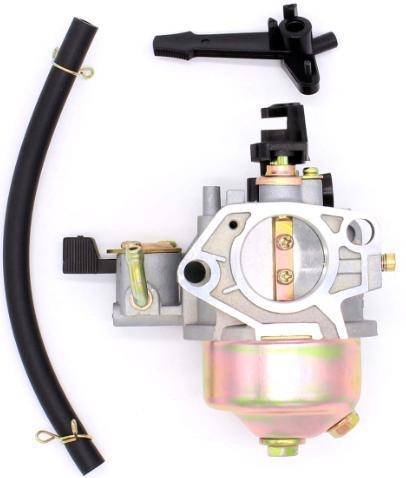

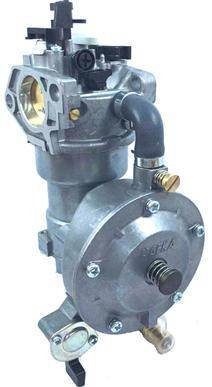
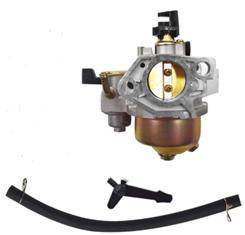
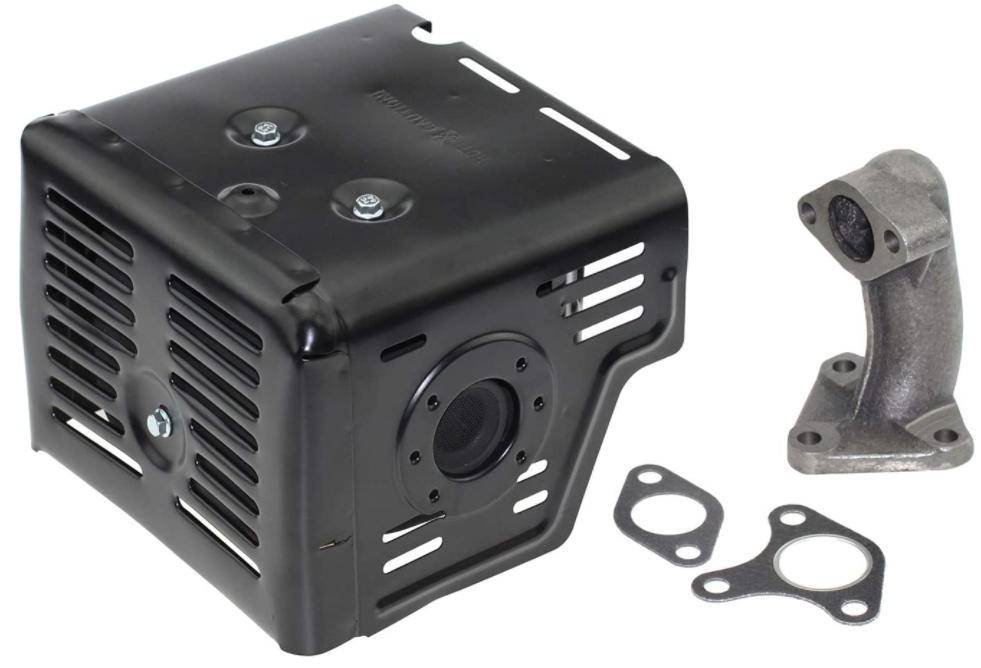
Stihl FS38 / HS45 / HS56 (32 parts)
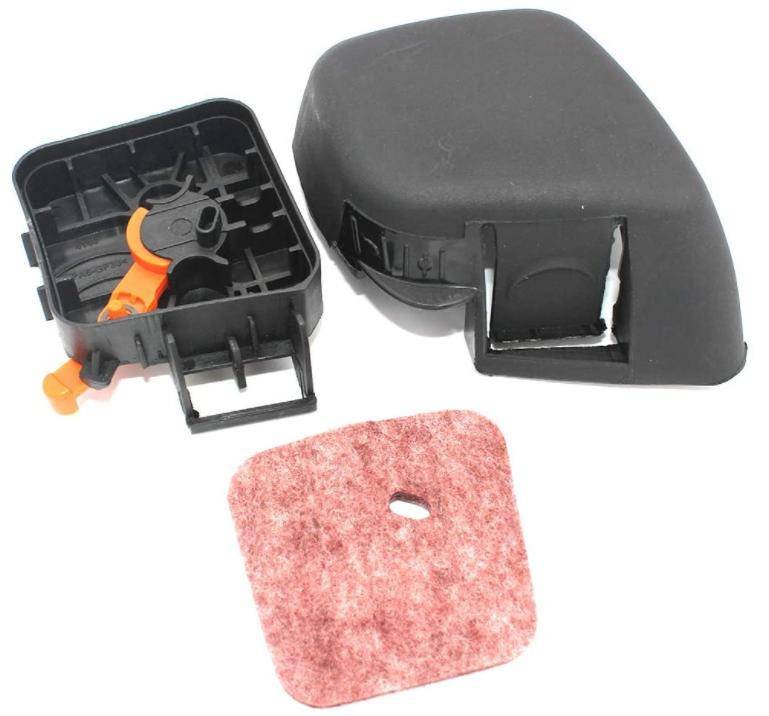



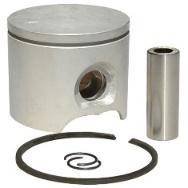
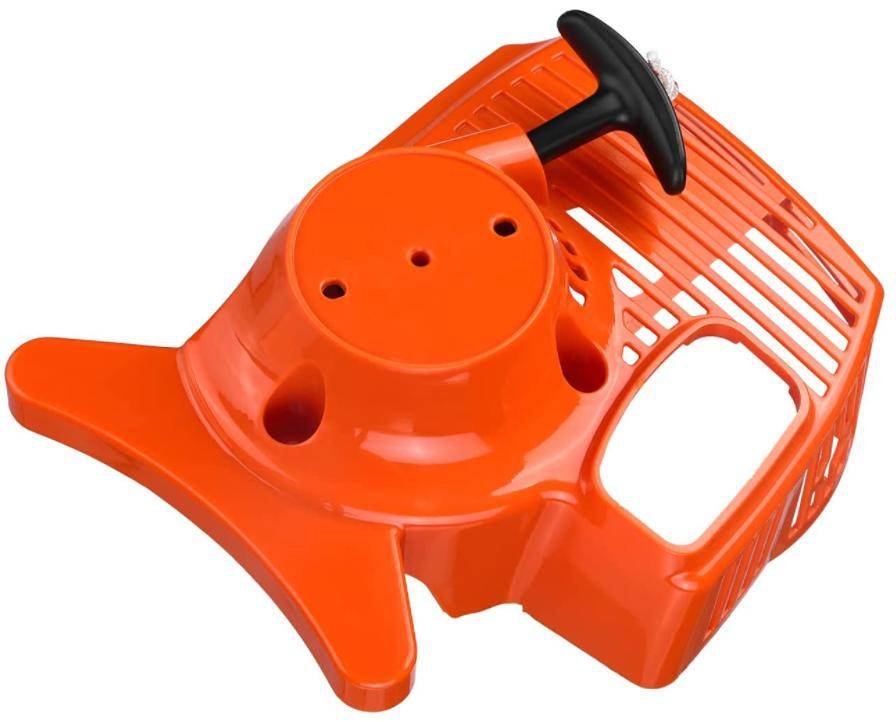
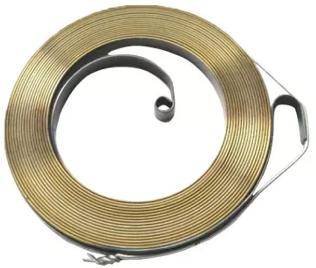
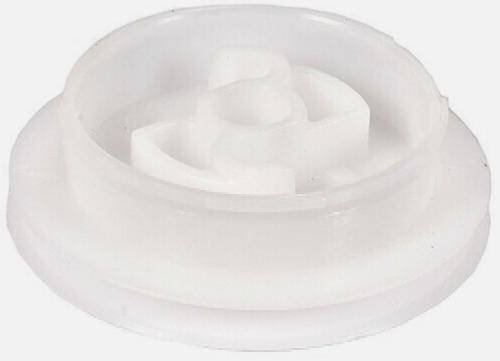
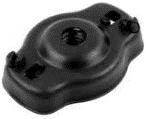

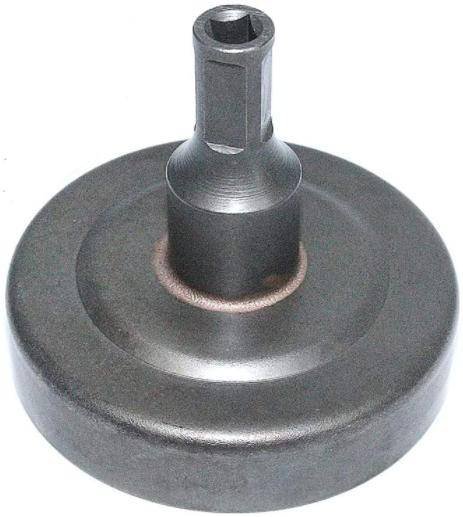
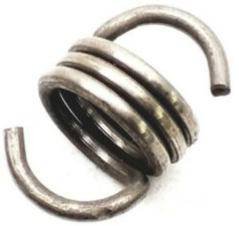


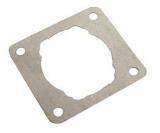



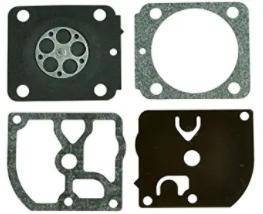
Poulan / Partner 842 (5 parts)

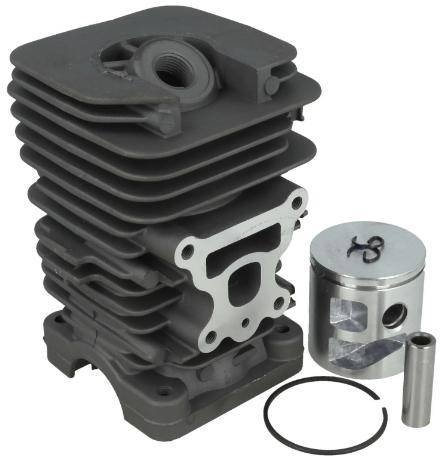
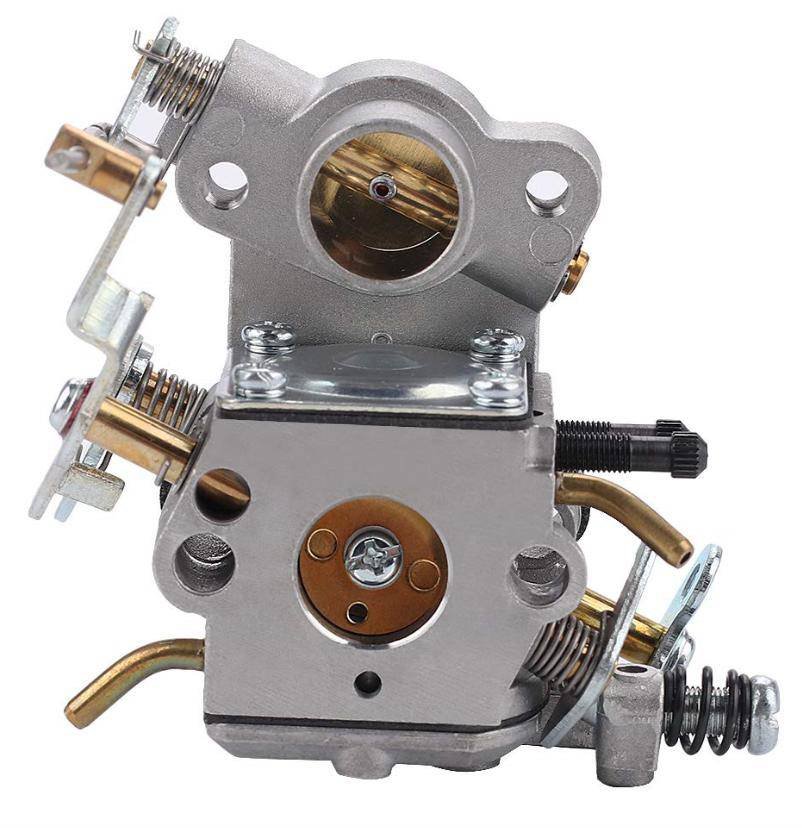
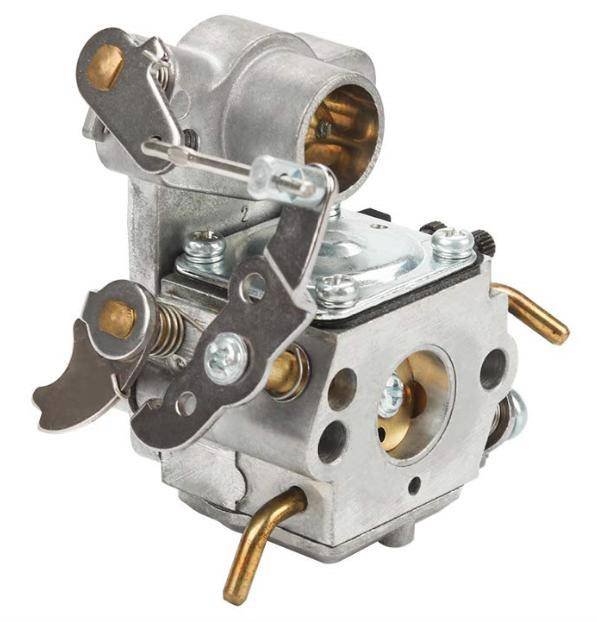
Homelite / Ryobi RY08554 (1 parts)
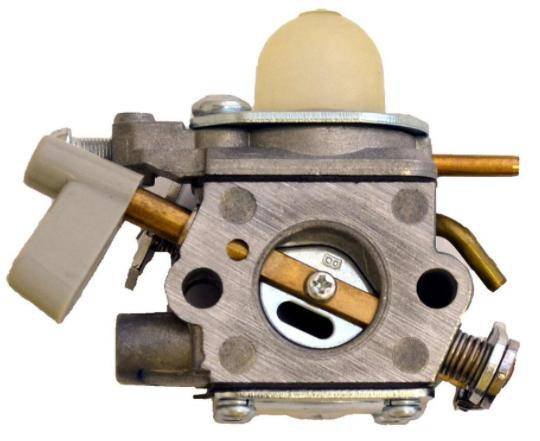
Kawasaki TJ45 (9 parts)



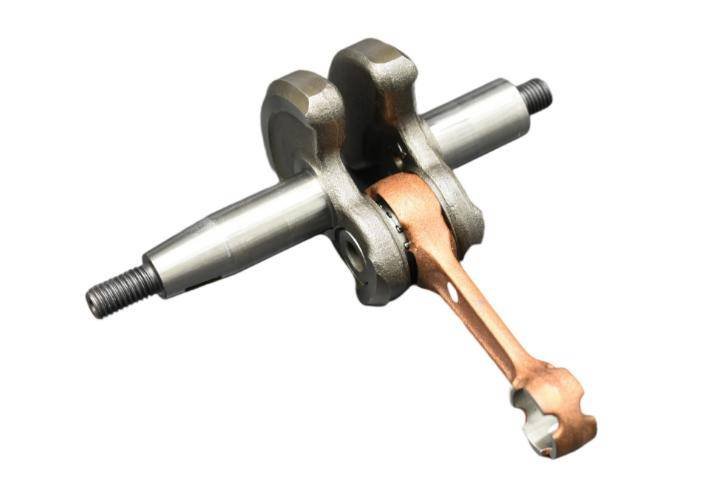

Chinese clone chainsaw 4500/5200/5800 (37 parts)











Fixing it yourself is easier than you think

Keep every machine on the property running.
Generators, water pumps, brush cutters and chainsaws work hardest where the nearest repair shop is an hour away. Stock the parts that keep your equipment fleet going through storm season, fire season and everything in between.
Get repair tips & seasonal maintenance reminders
No spam — just what to check before mowing season and storm season.